|
As you decorate your home for Christmas this year, add a special handmade touch by making your own Christmas tree ornaments from felt. You will find the instructions below, followed by a printable pattern file. These DIY felt Christmas tree ornaments are festive decorations for your tree, and make great gifts as well! We recommend decorating a gift bag or wrapped present by attaching one of your finished ornaments, and then the recipient of the gift will be able to cherish the ornament as a keepsake. 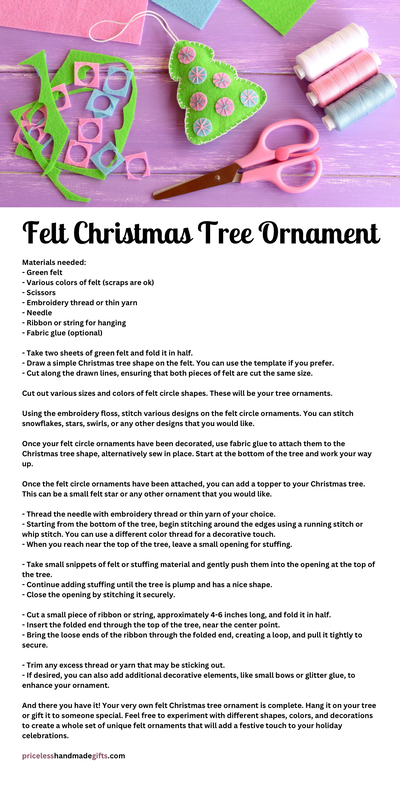
0 Comments
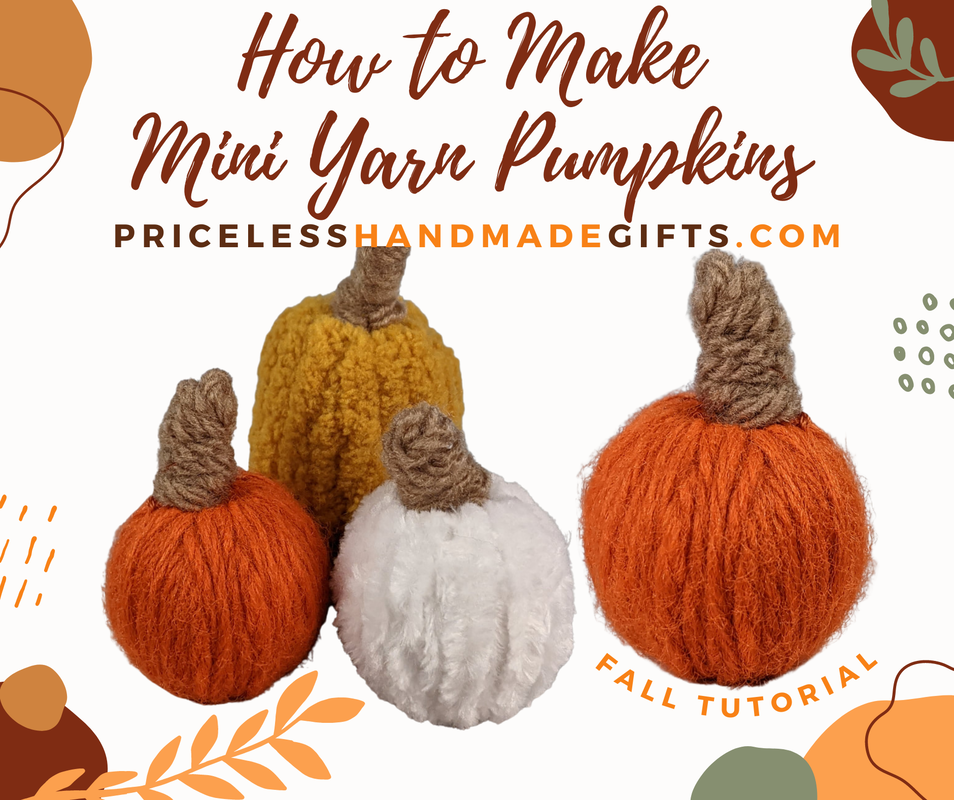 I have the cutest little project I came up with, and I am excited to share it with you! 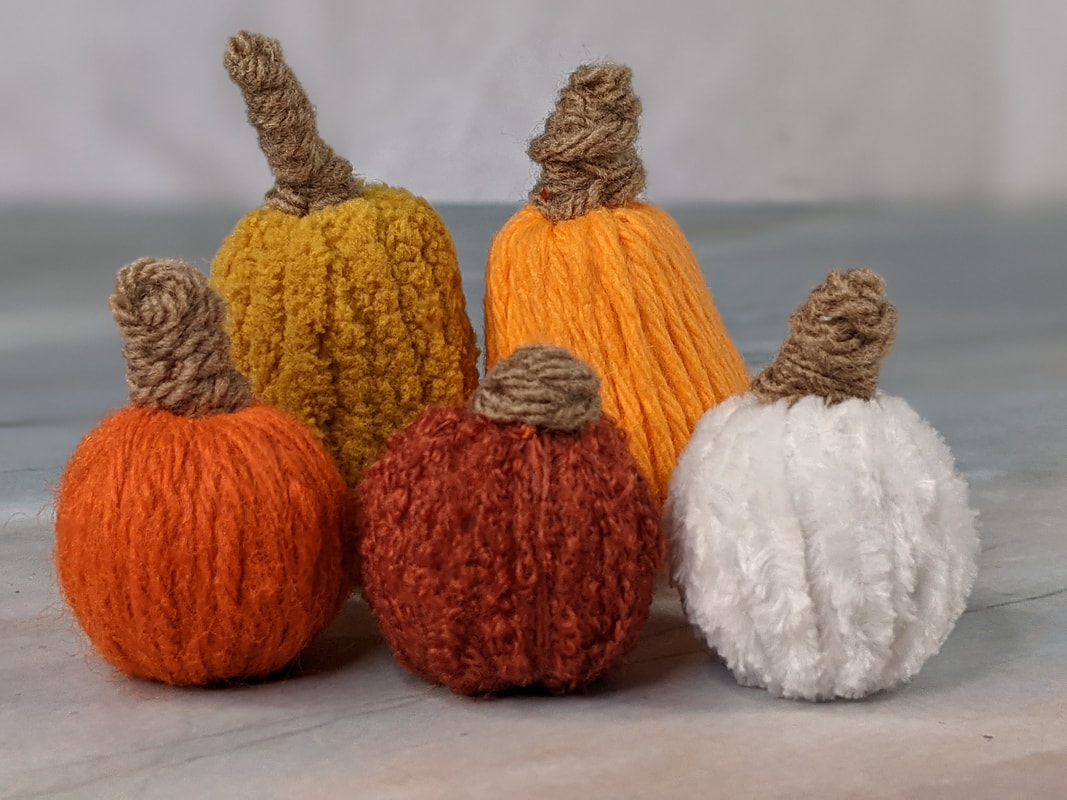 If you like decorating for Fall with pumpkins, gourds, and squash, then this project is perfect for you. 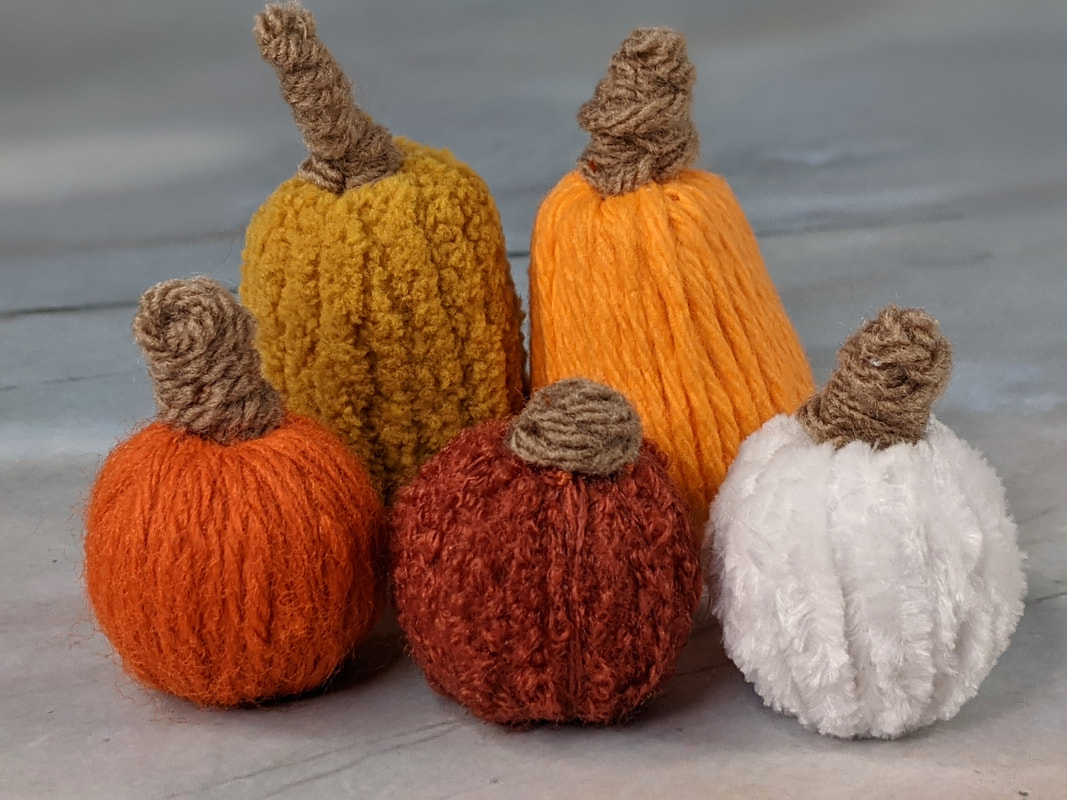 I will start by showing you how to make this cute round pumpkin. 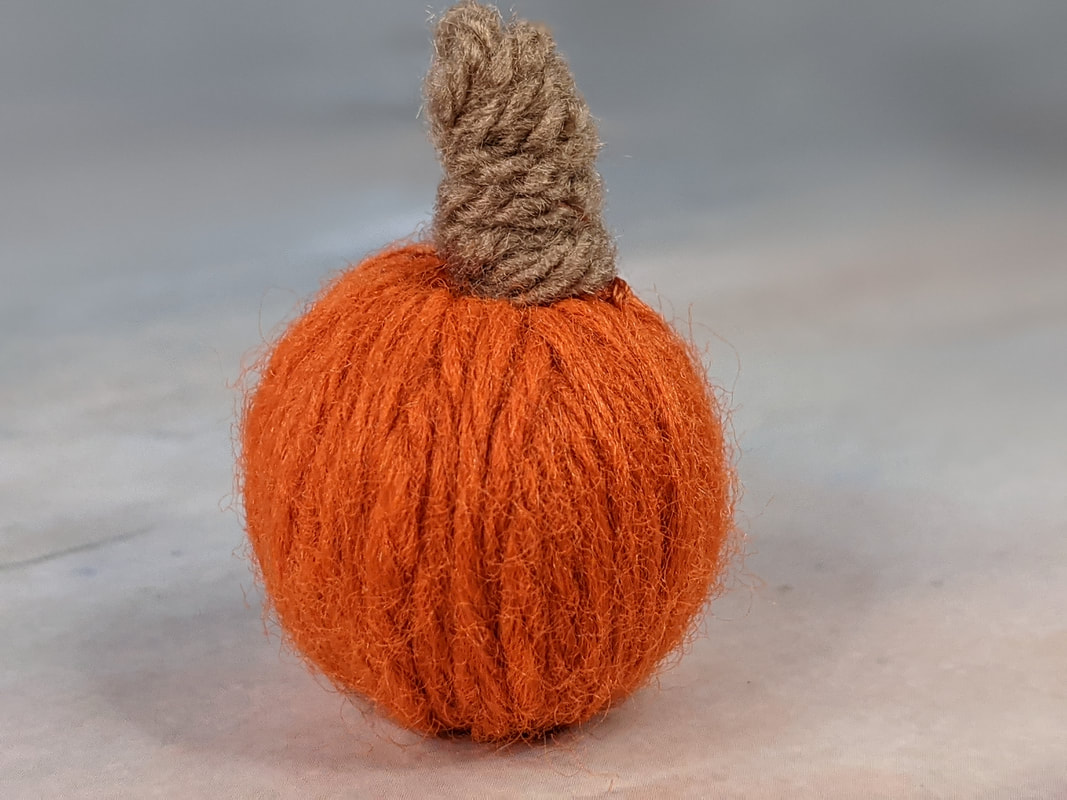 Then find my tips for other shapes near the end of this post. 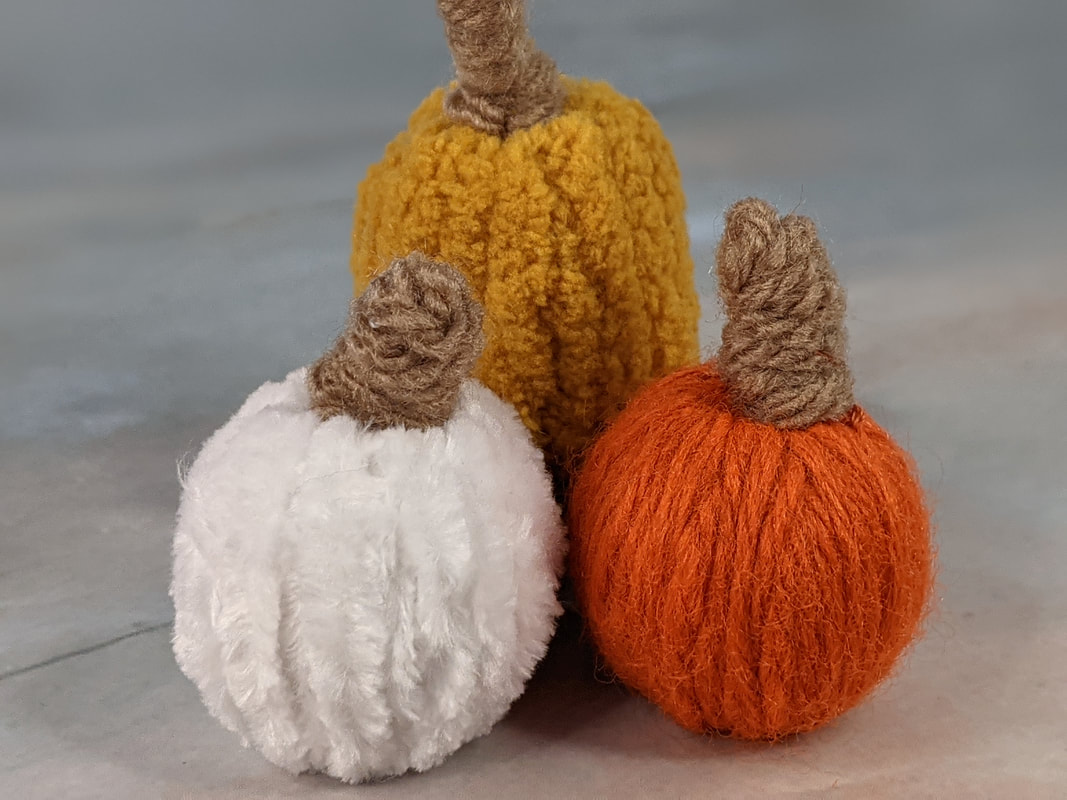 First, gather your supplies for this project. 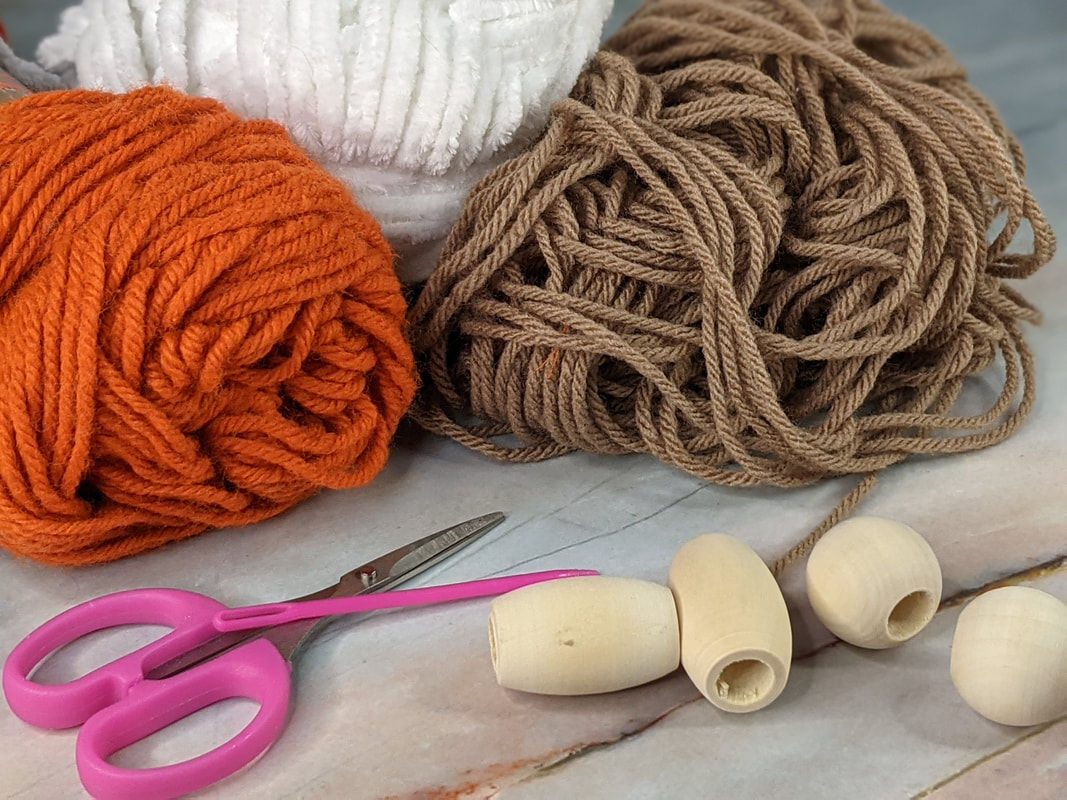 SUPPLIES YOU WILL NEED:
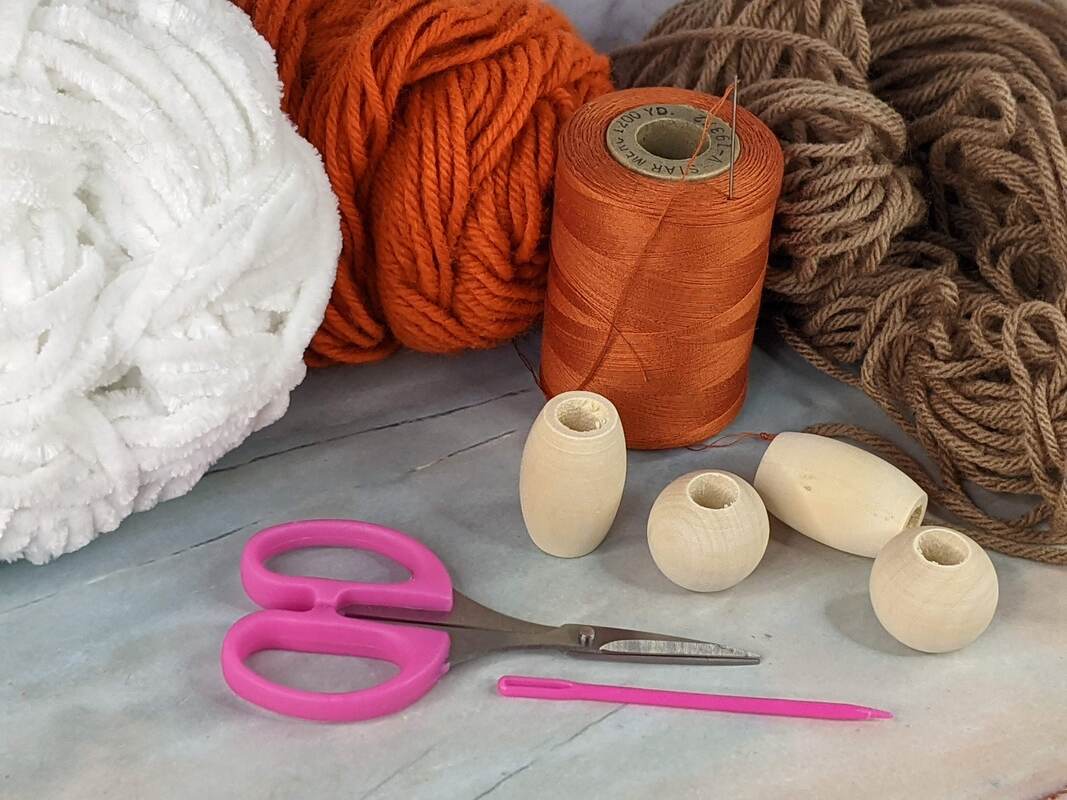 Thread your yarn needle with the main color you choose. You may cut your yarn about 4-5 feet long. Usually I just pull a bunch of yarn through the bead, but leave it connected to the yarn skein until I am nearly done wrapping my bead. Do what you feel is best. If you cut it too short, just add another section of yarn, hiding the end inside the hole. No one will know, so don't worry about how much yarn you begin with. The amount of yarn you actually need will depend upon the thickness of your yarn, as well as the size of your bead. Feed your yarn-threaded needle through the hole of the bead. 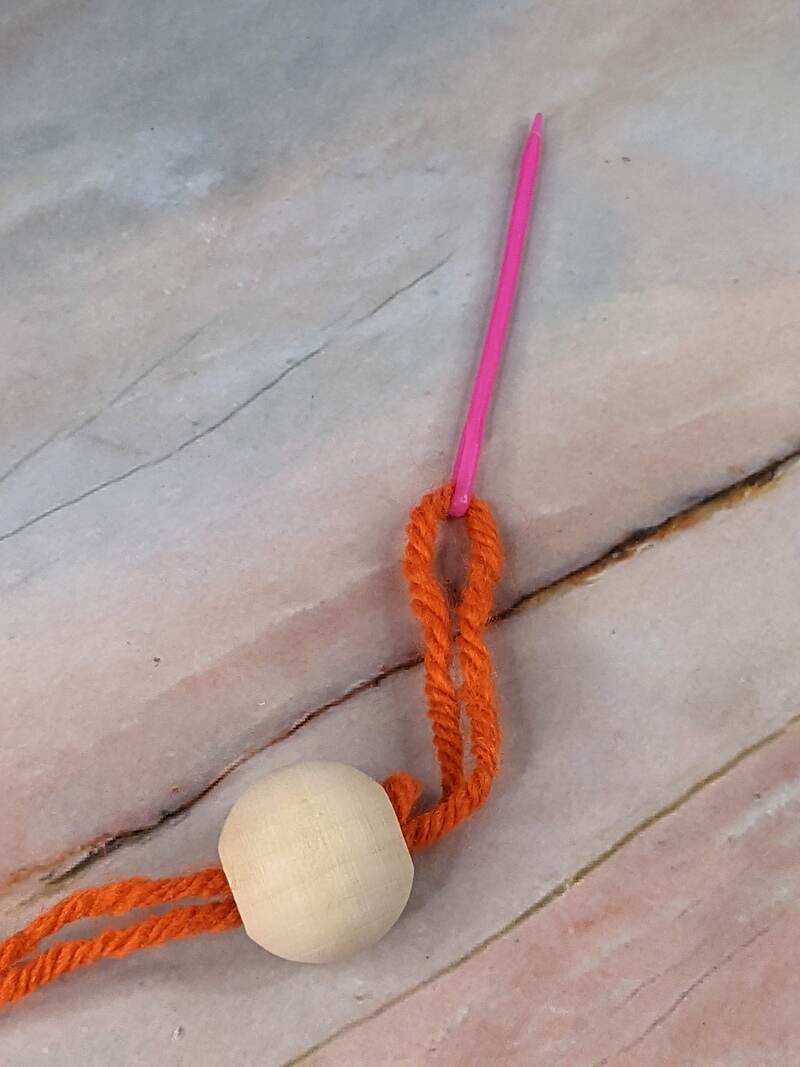 Begin wrapping the yarn up through the bead, down the outside of the bead, and back up through the hole. Repeat this step until your bead is covered. 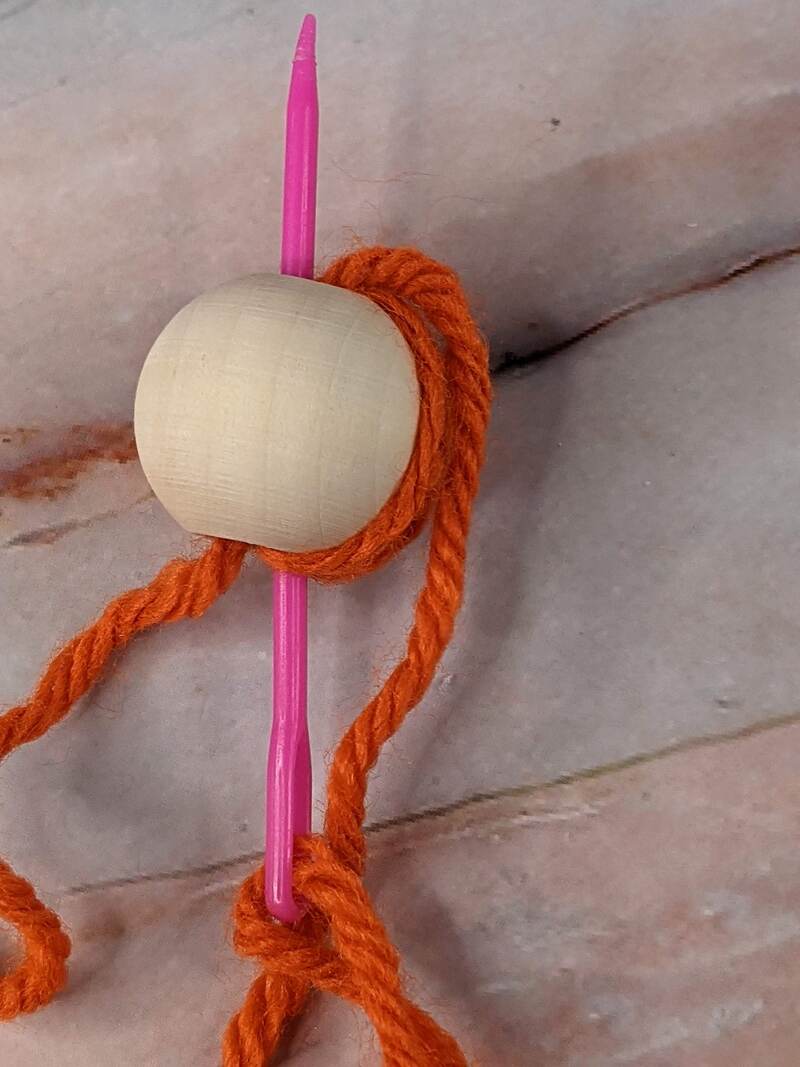 You may notice spaces between the yarn as you are wrapping. Just fill in those gaps with yarn as you go along, or fill it in as the final step. I've done it both ways, and it turns out great with both methods. 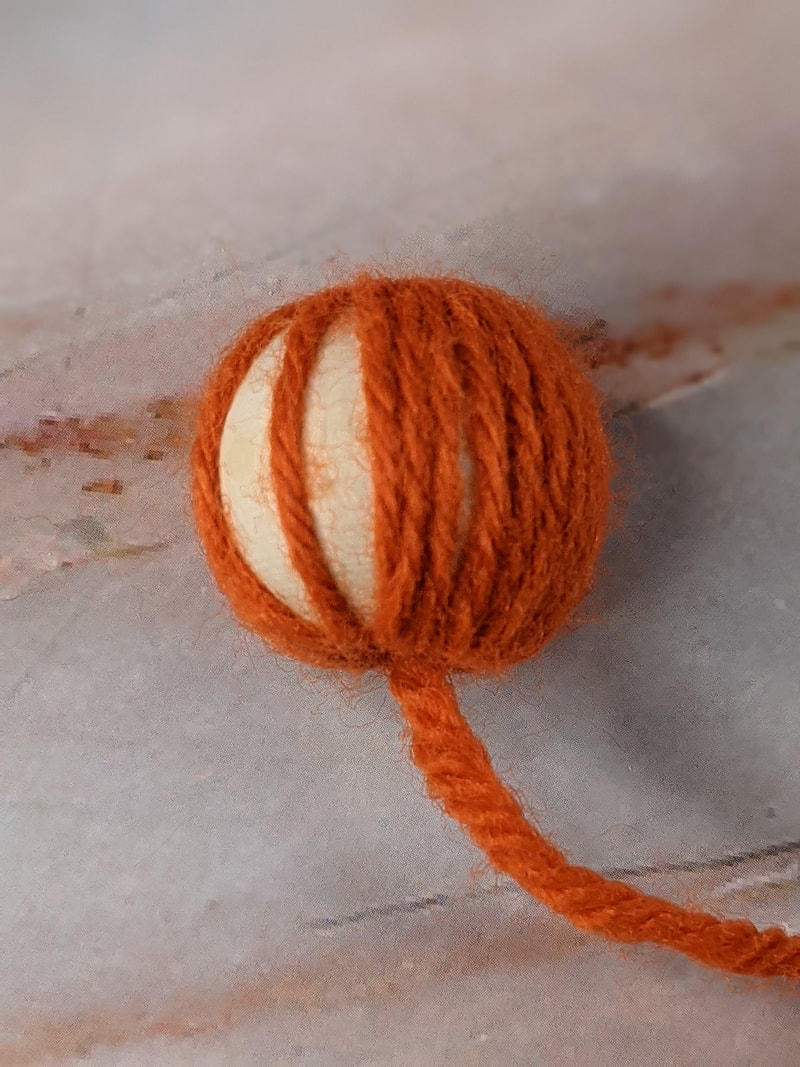 Continue until your bead is fully covered. 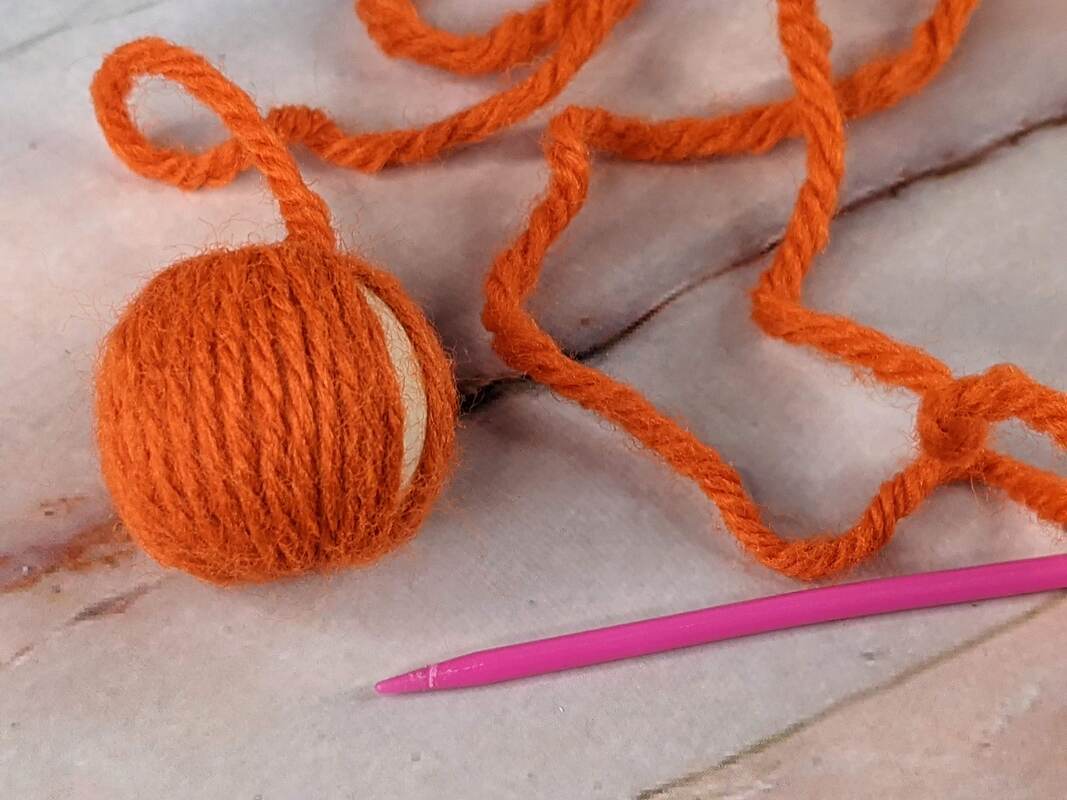 Cut off excess yarn, leaving a tail (as shown below). 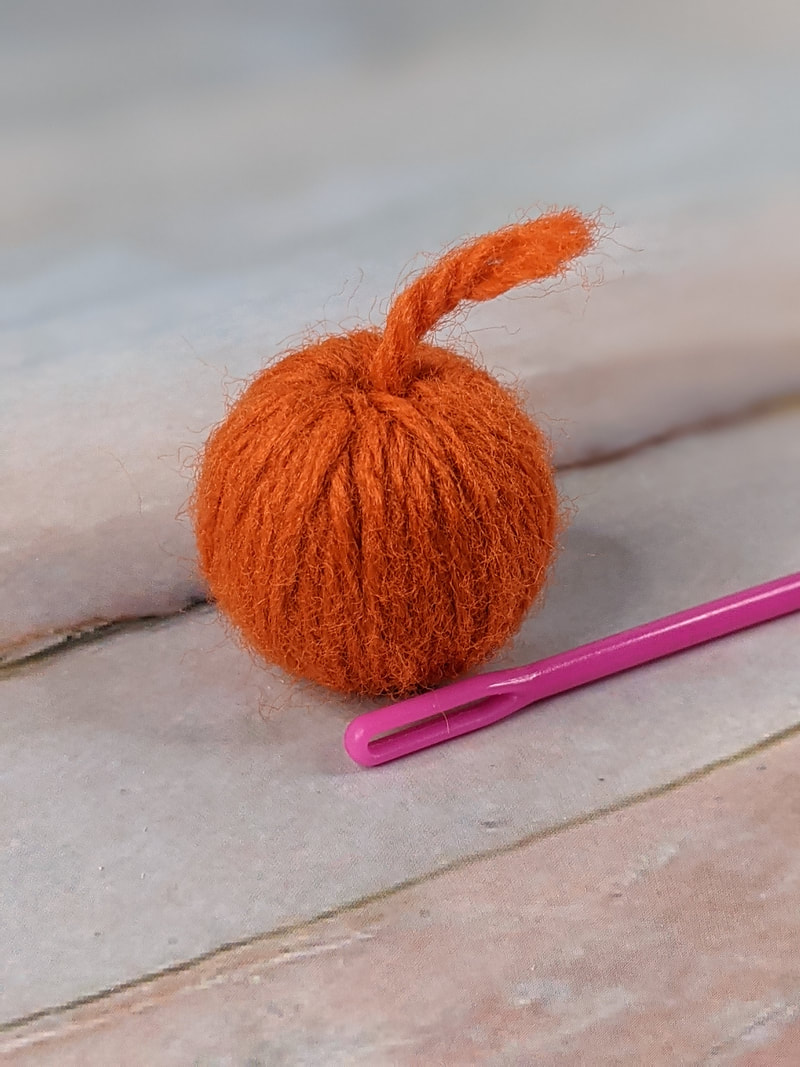 Next you will add your stem. Using your thread, stitch the stem color yarn to the yarn-tail you left sticking up on your pumpkin. 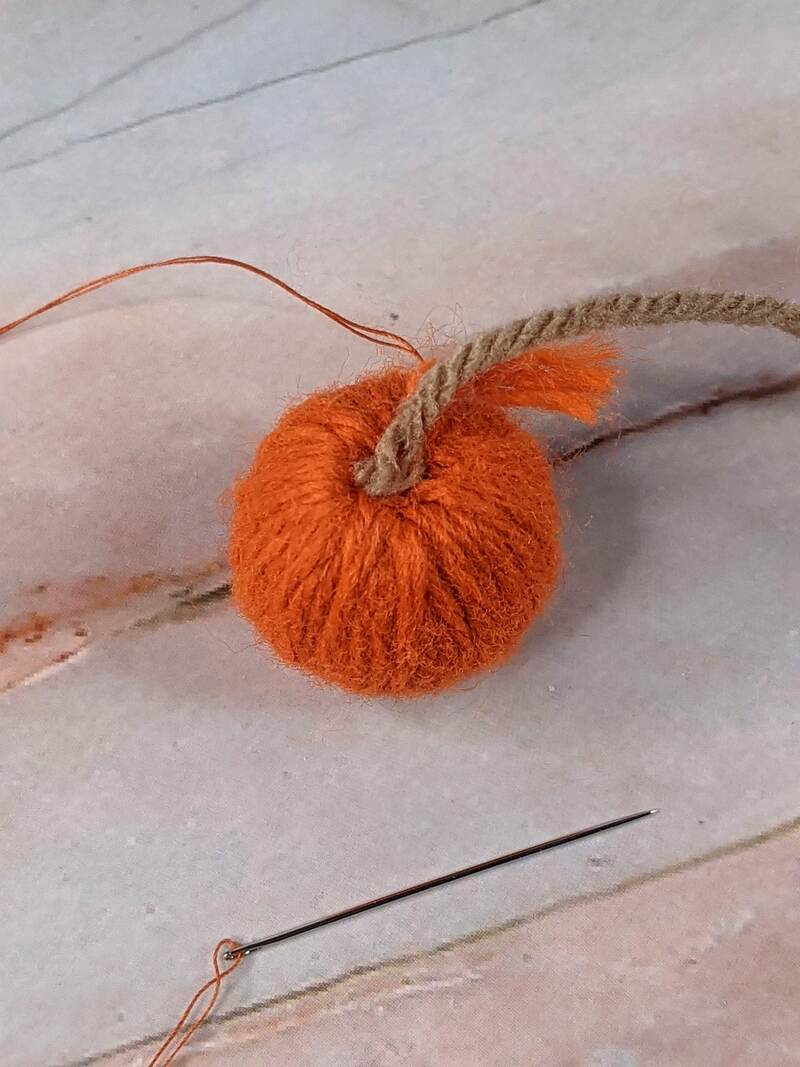 I usually loop my stem yarn back down to the pumpkin base, and stitch again with my thread to secure it. 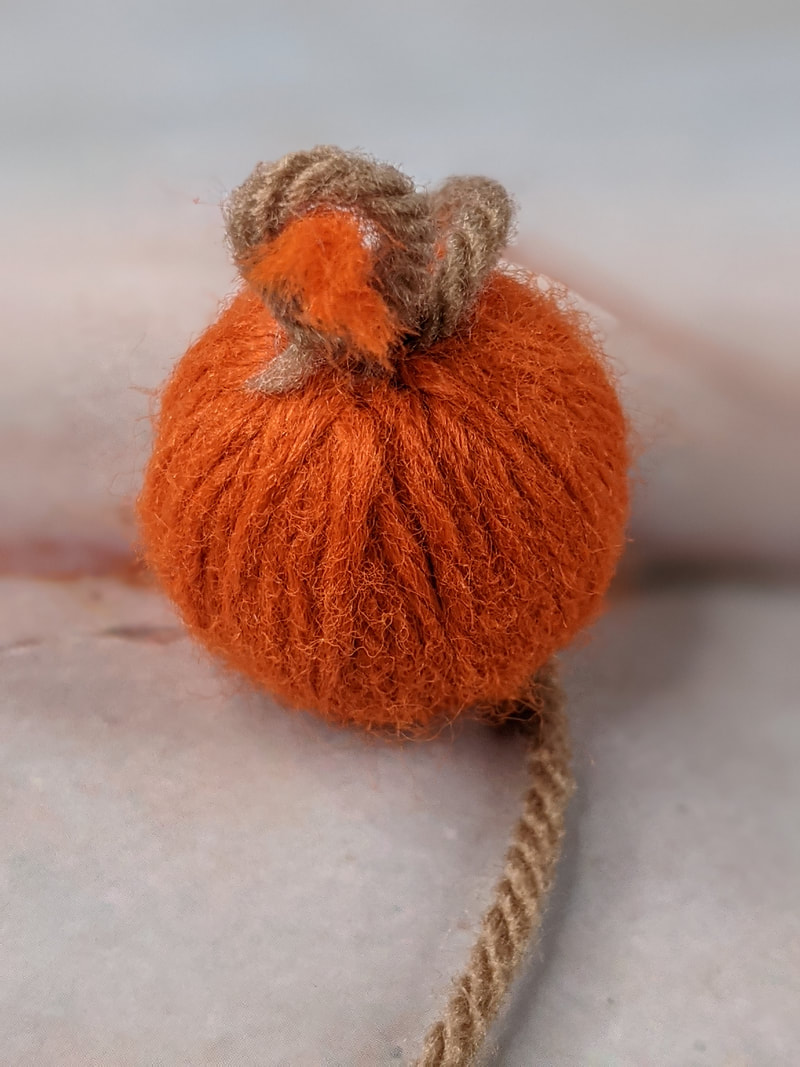 Now start wrapping your stem yarn around the yarn-tail you created, circling it completely. 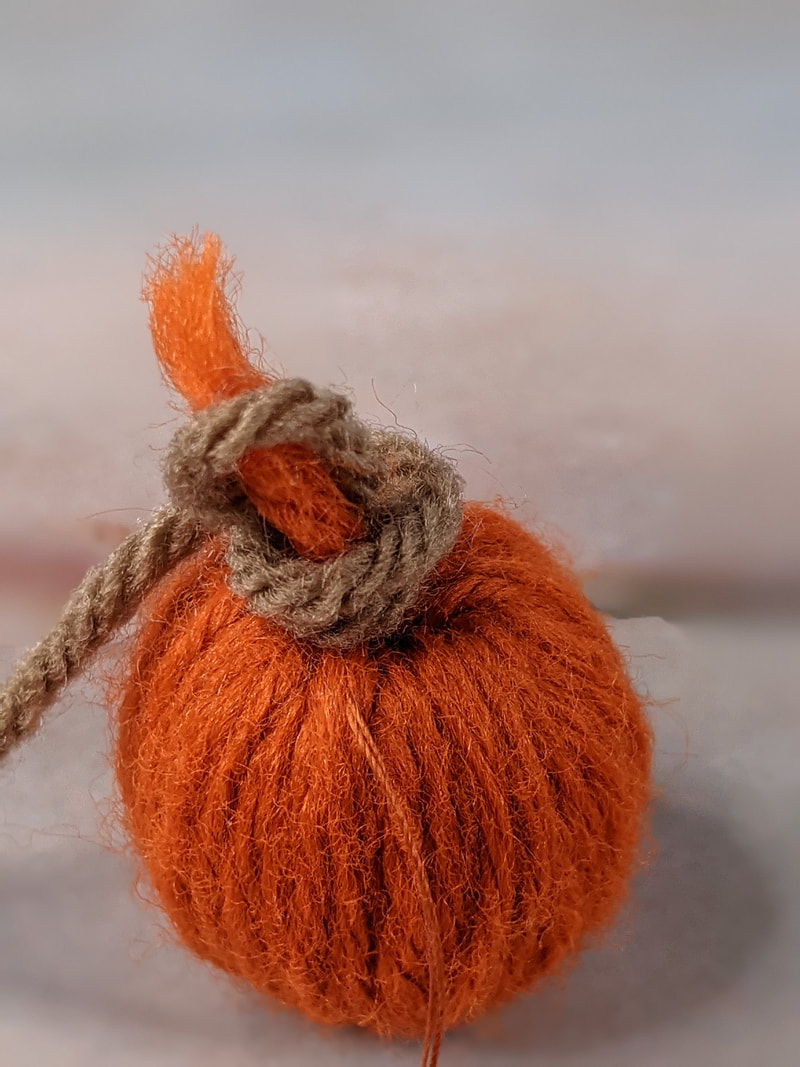 Wrap your stem color around until you reach the top of the yarn-tail. Then wrap back down to the pumpkin base and cut off any extra stem yarn. 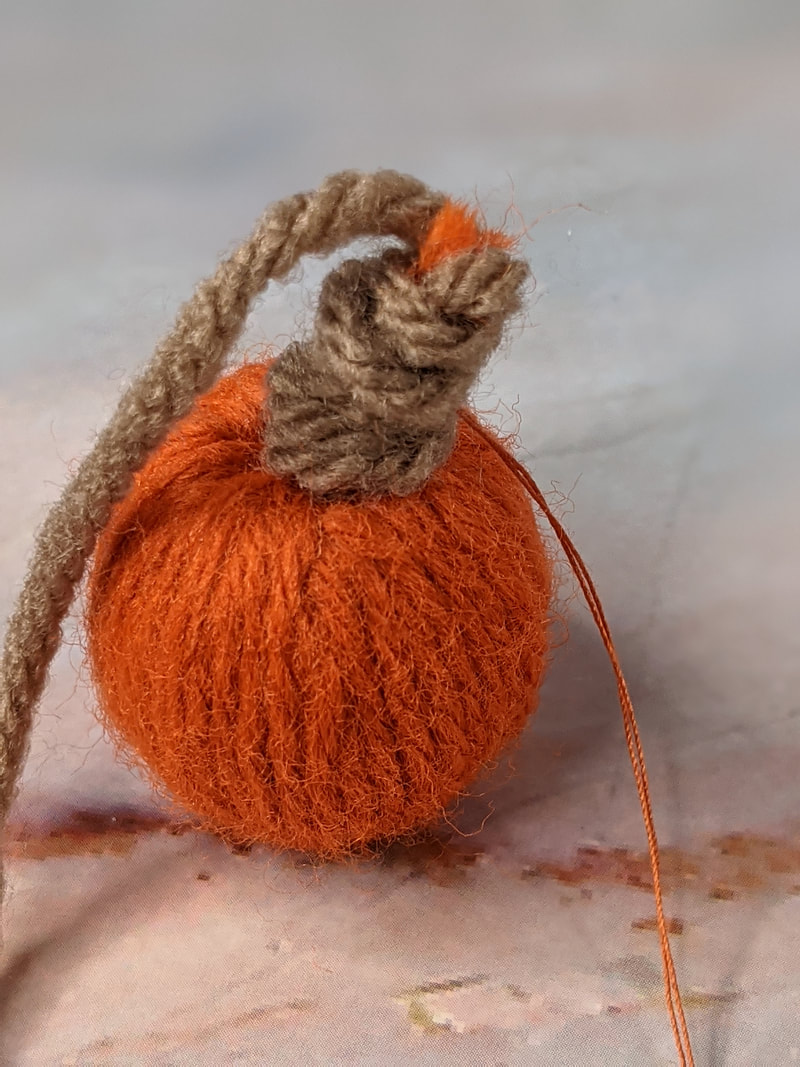 Stitch the base of the stem with your thread. Be sure to go through some of the pumpkin color to help secure the stem in place. I also stitch throughout the entire stem so it stays together. 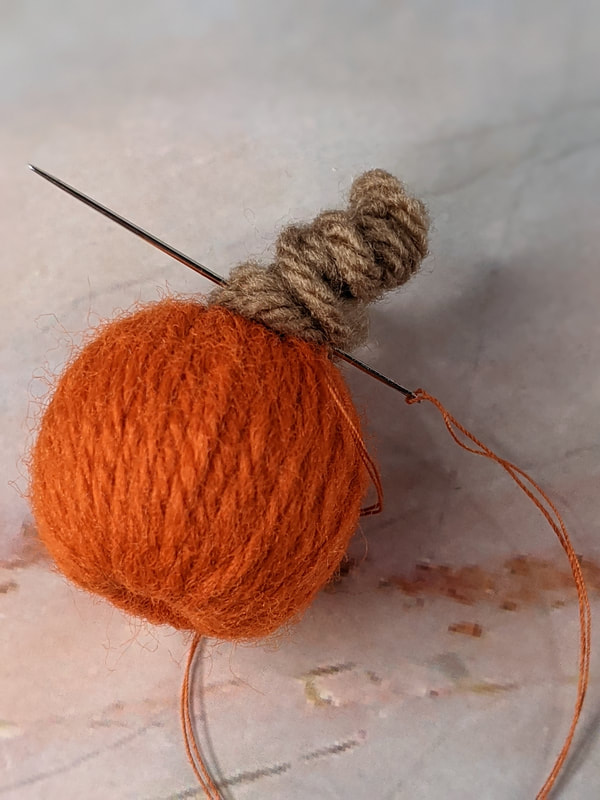 Once it seems like it has been sewn enough that it won't unravel, you may knot and cut off the extra thread. 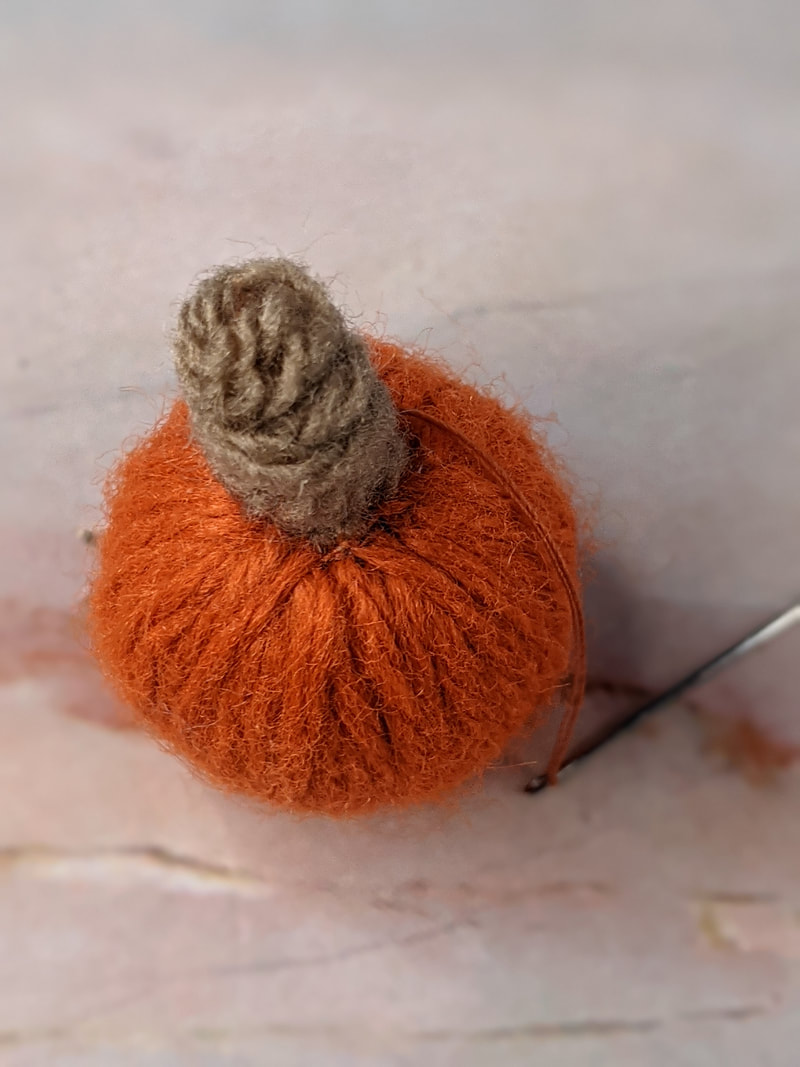 Now you have the cutest little pumpkin in the entire pumpkin patch. Great job! 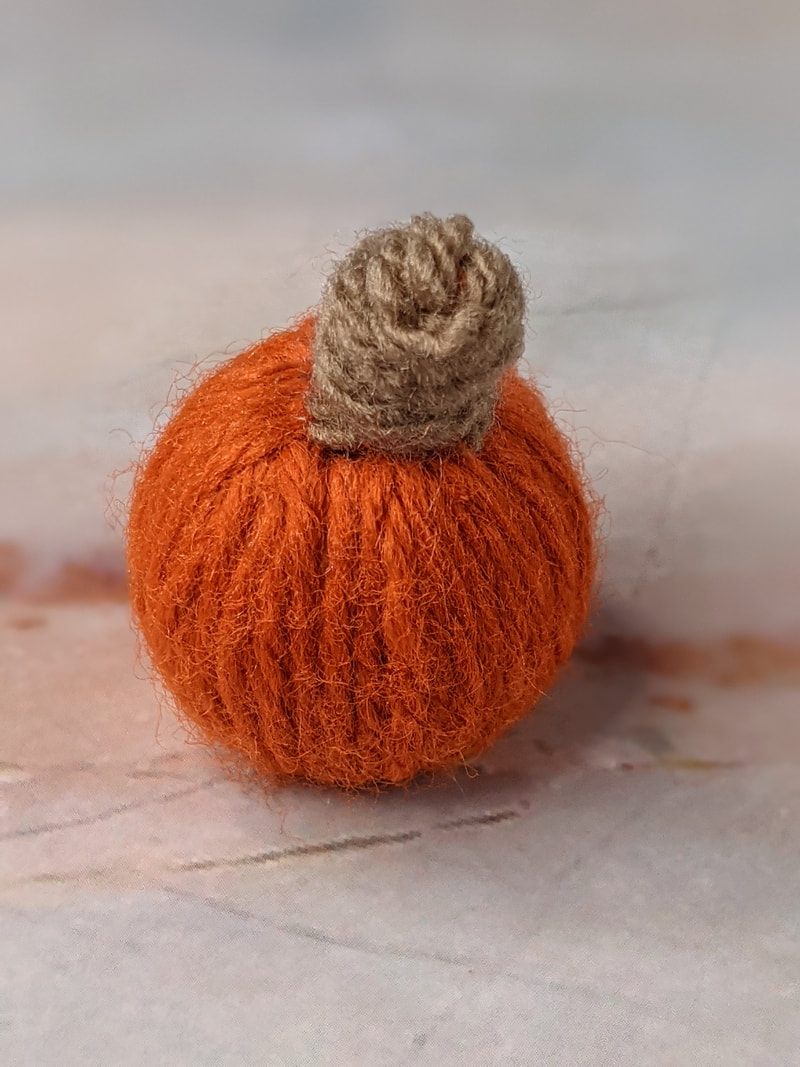 Decorate your house with your creations. 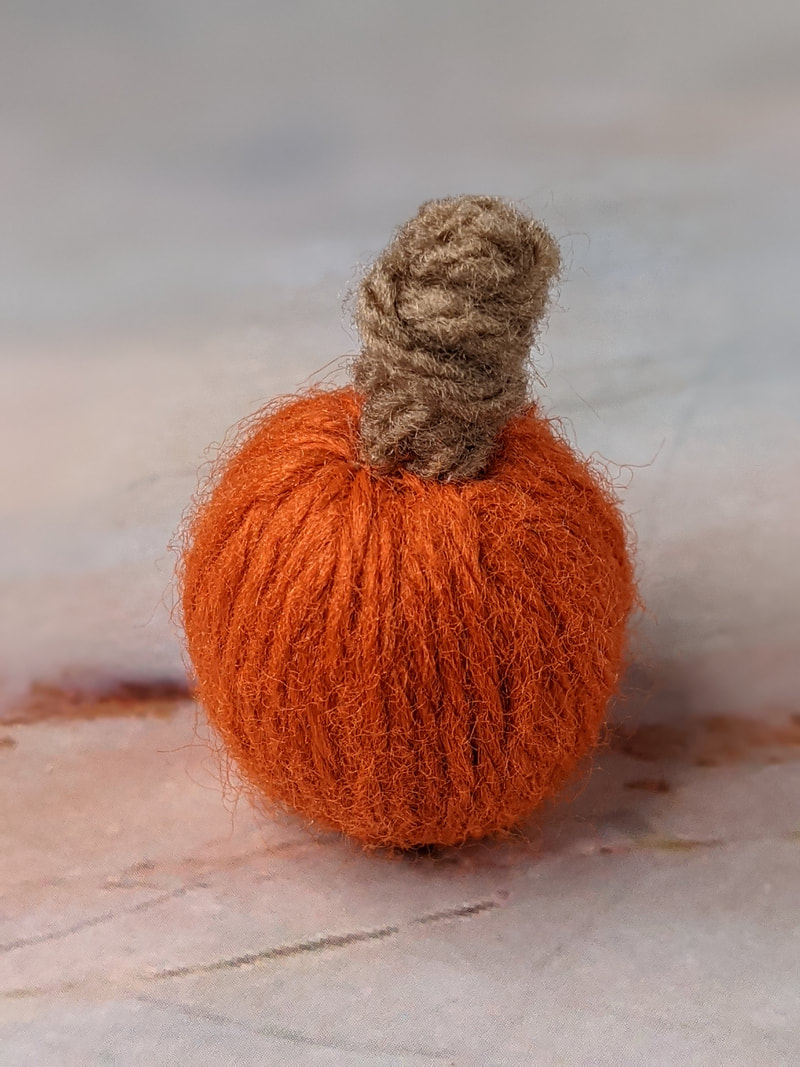 These also make great gifts! 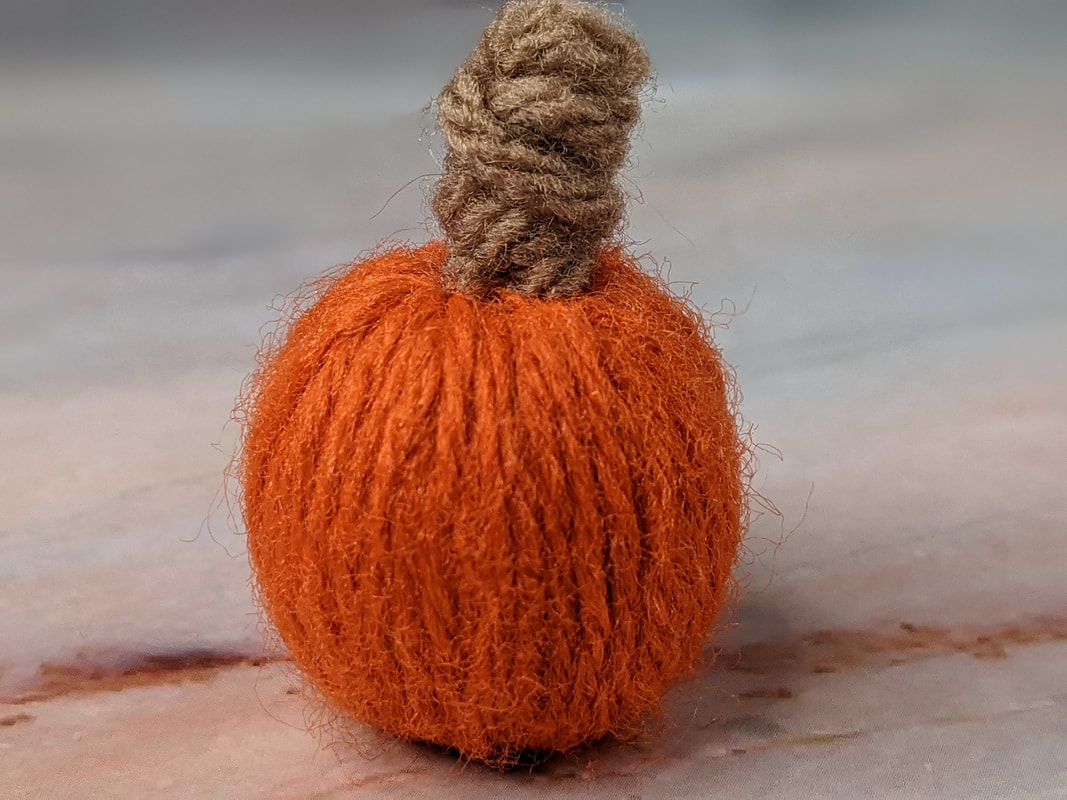 If you want to make a squash shape, use an oblong bead and follow my tips below. 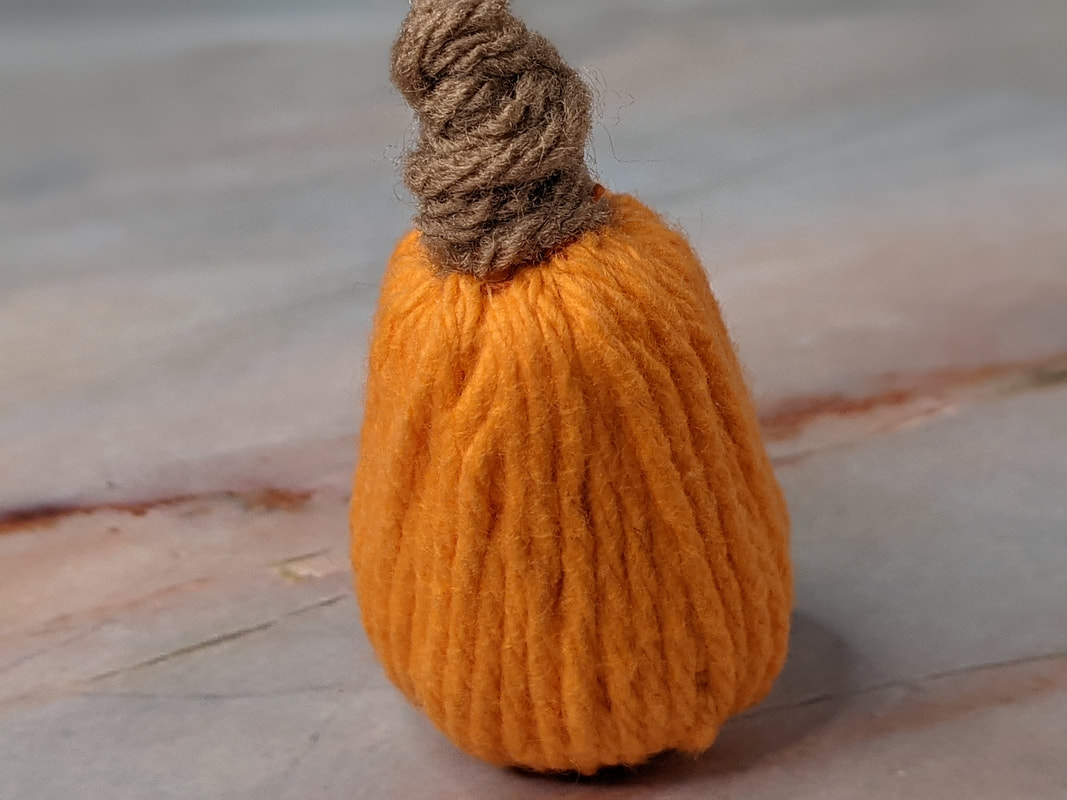 Wrap the lower third section of the outside of the oblong bead with yarn horizontally, as shown. 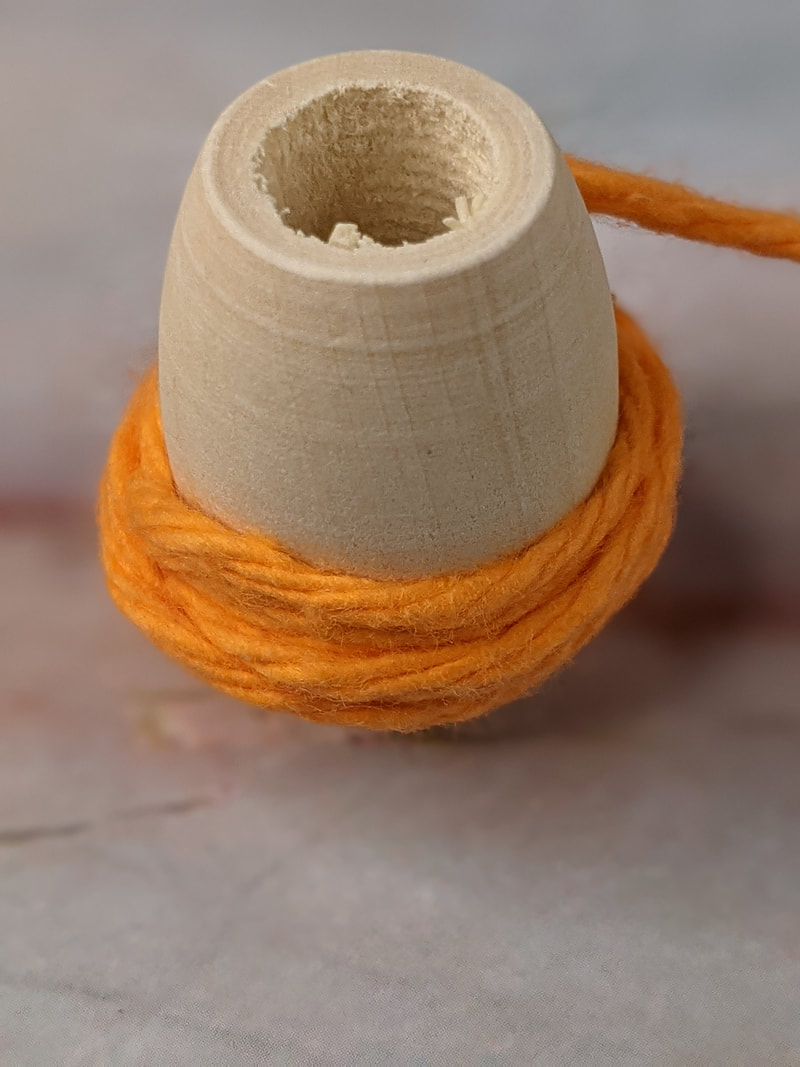 Next begin wrapping vertically, and continue by following the same steps you used above for making the pumpkin. (Also adding a stem.) 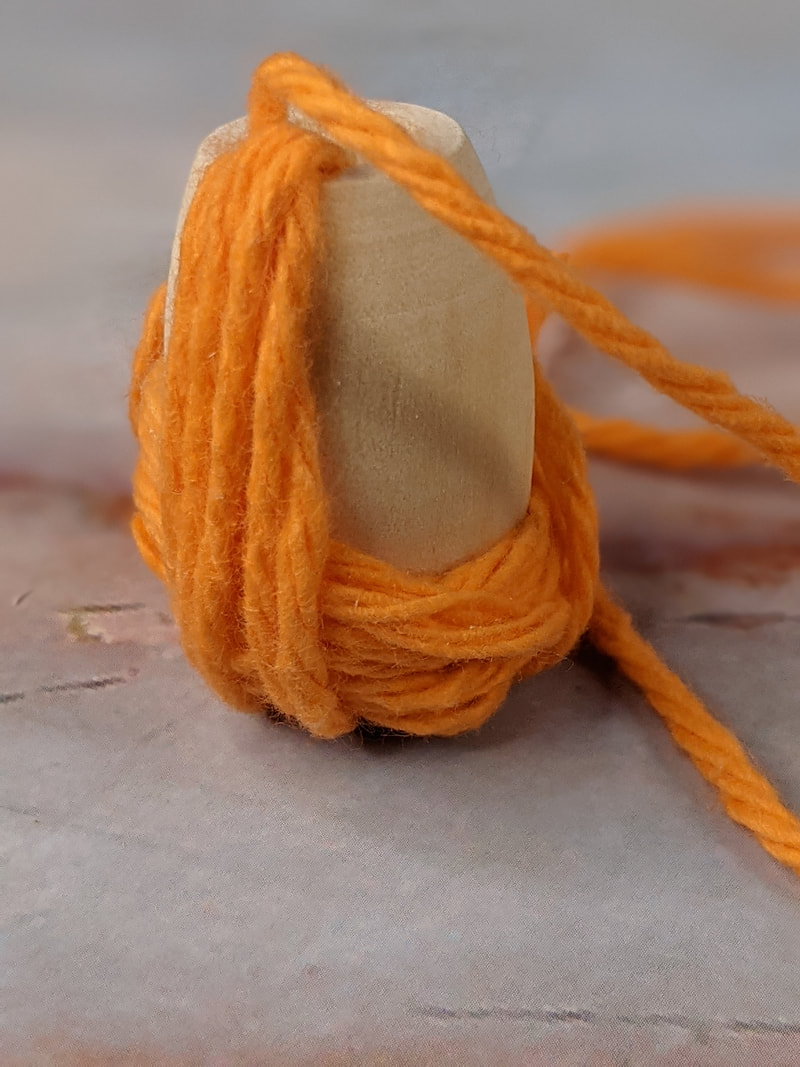 Your finished squash should look like this! 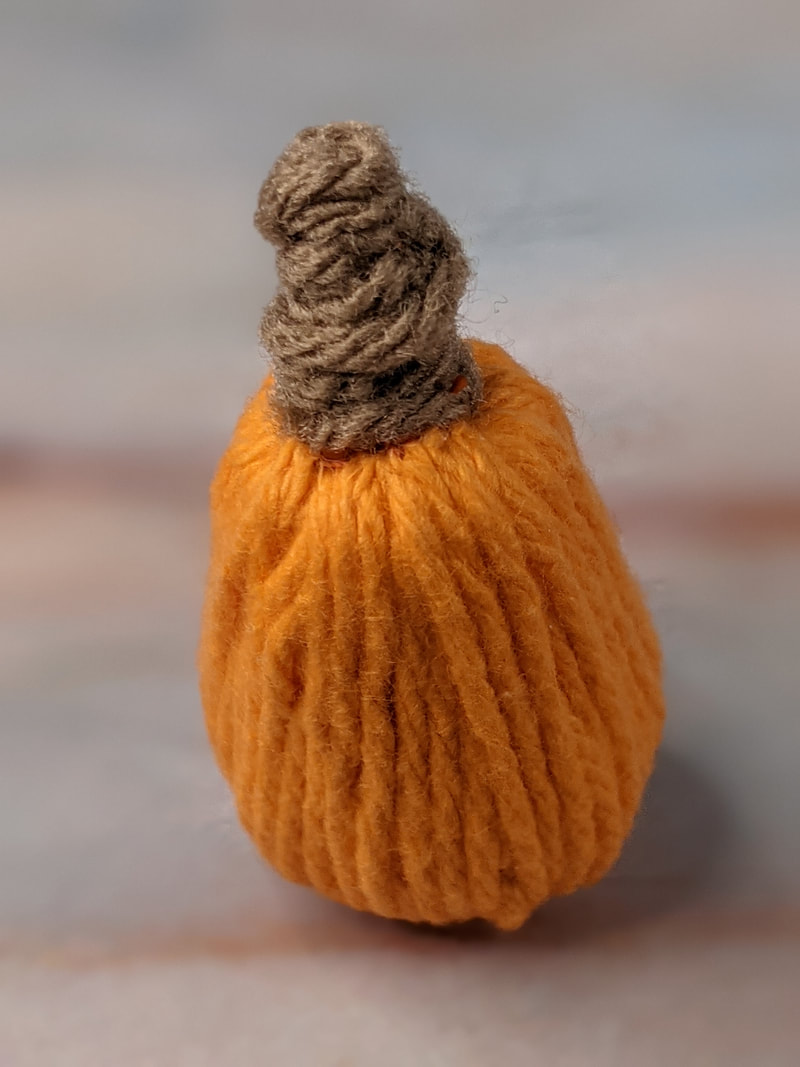 If you'd like to make a tall pumpkin, use an oblong bead with the original pumpkin method. It should end up looking like this: 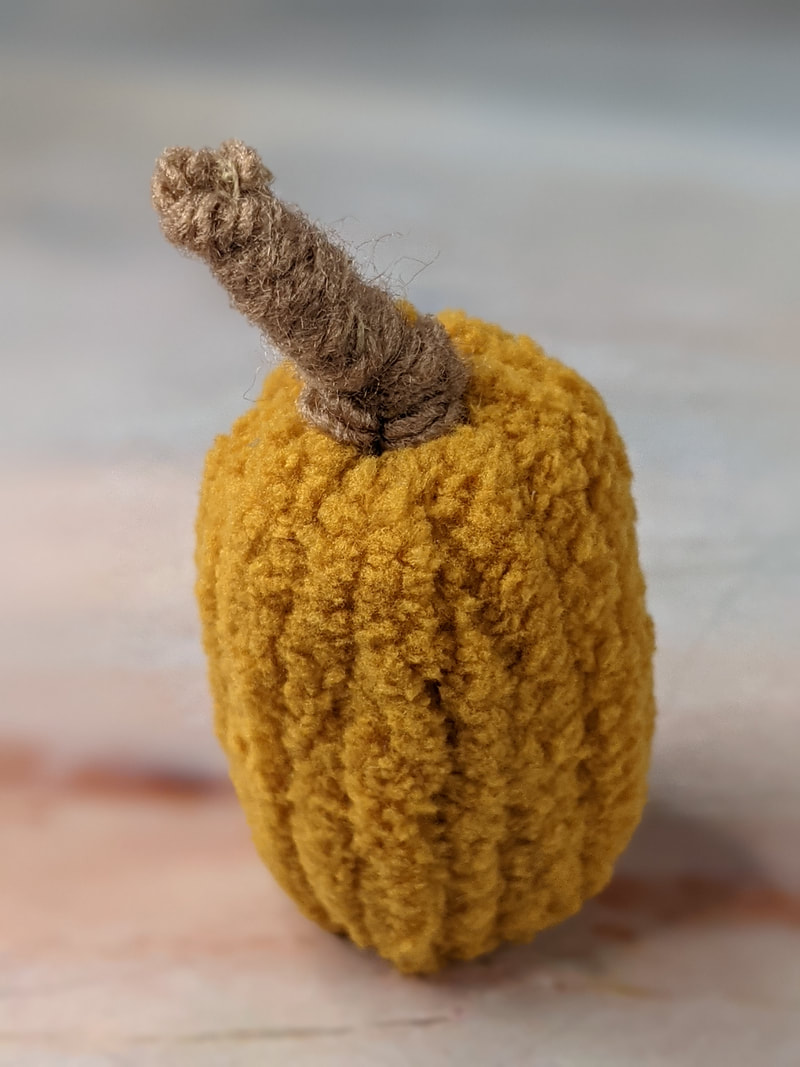 I used thick blanket-yarn for mine, and it is adorable!  Thank you for looking at my new project design. I hope you try it out! Please follow my Facebook page for more ideas (Priceless Handmade Gifts). Oh, and while you are here, please check out my other handmade designs on this website. - Alice, Handmade Designer and Small Business Owner 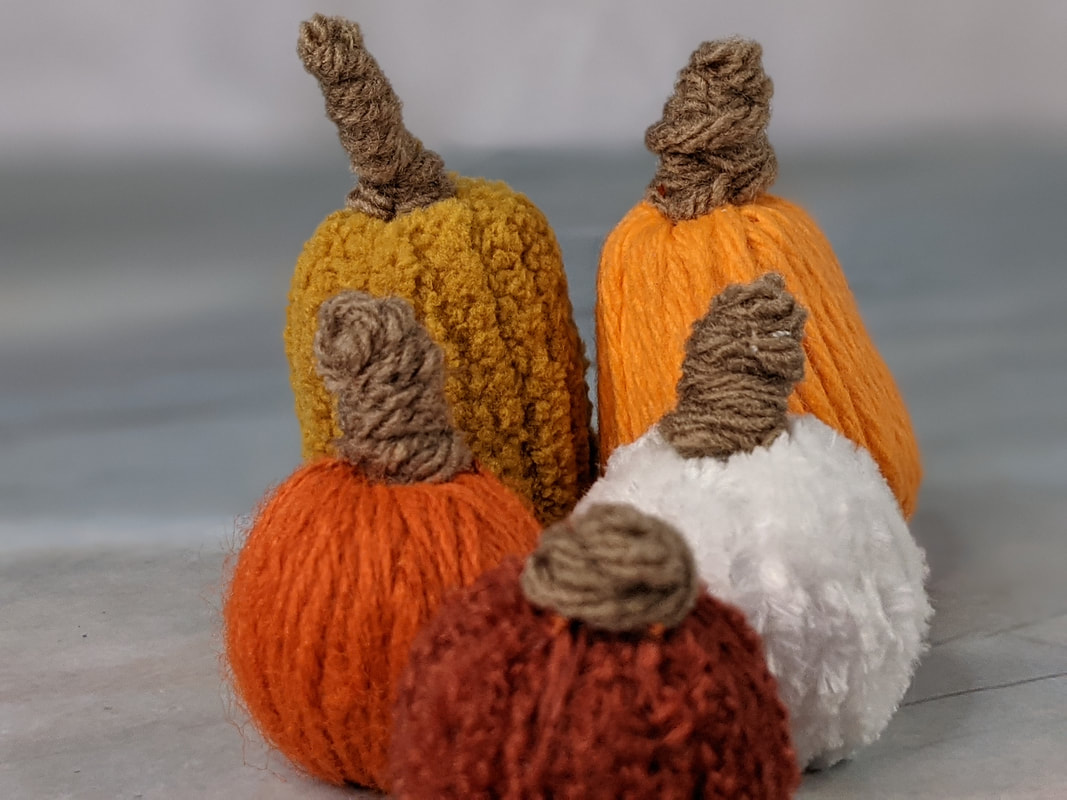 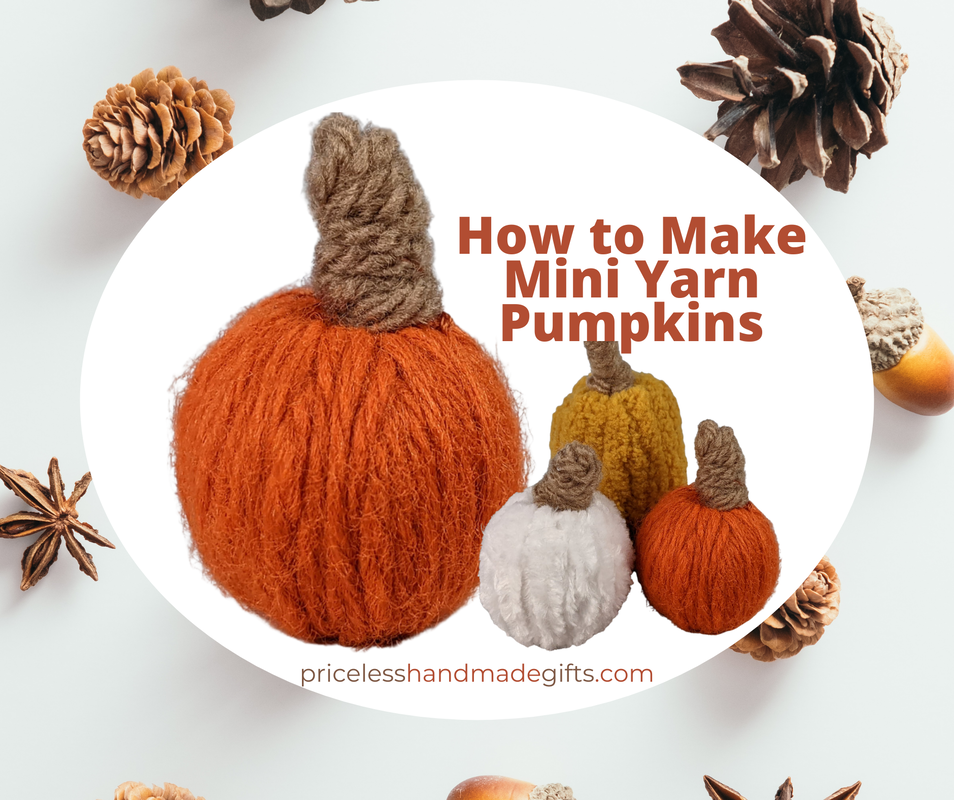  Learn how to knit the linen stitch with our easy pattern tutorial: 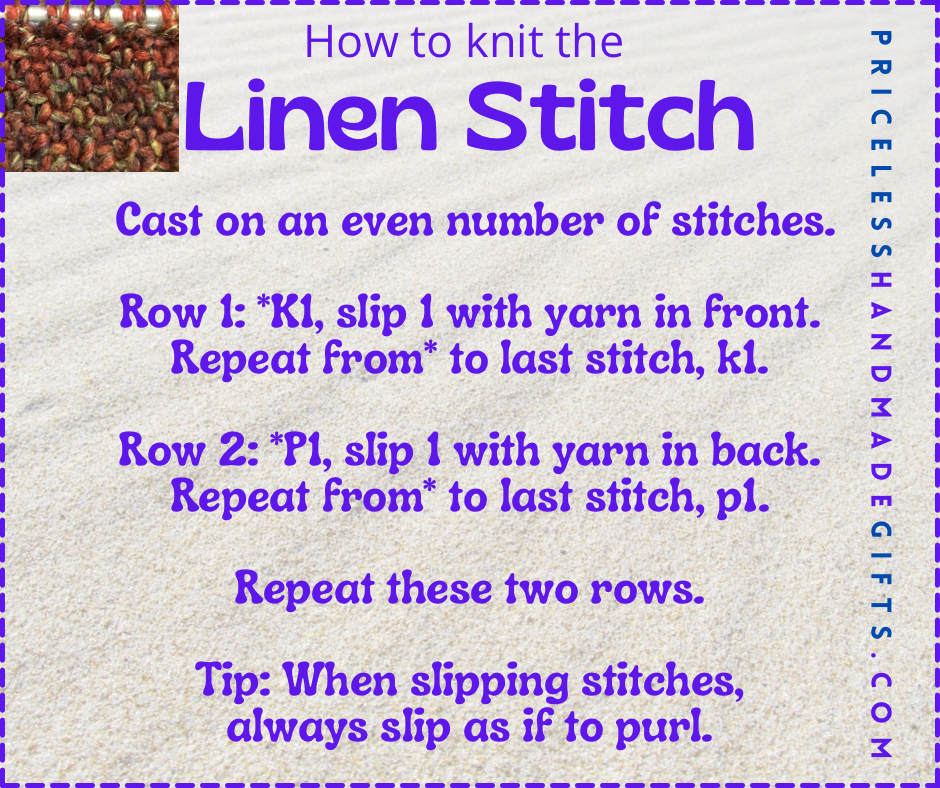 I am going to show you my method for wrapping beautiful presents! 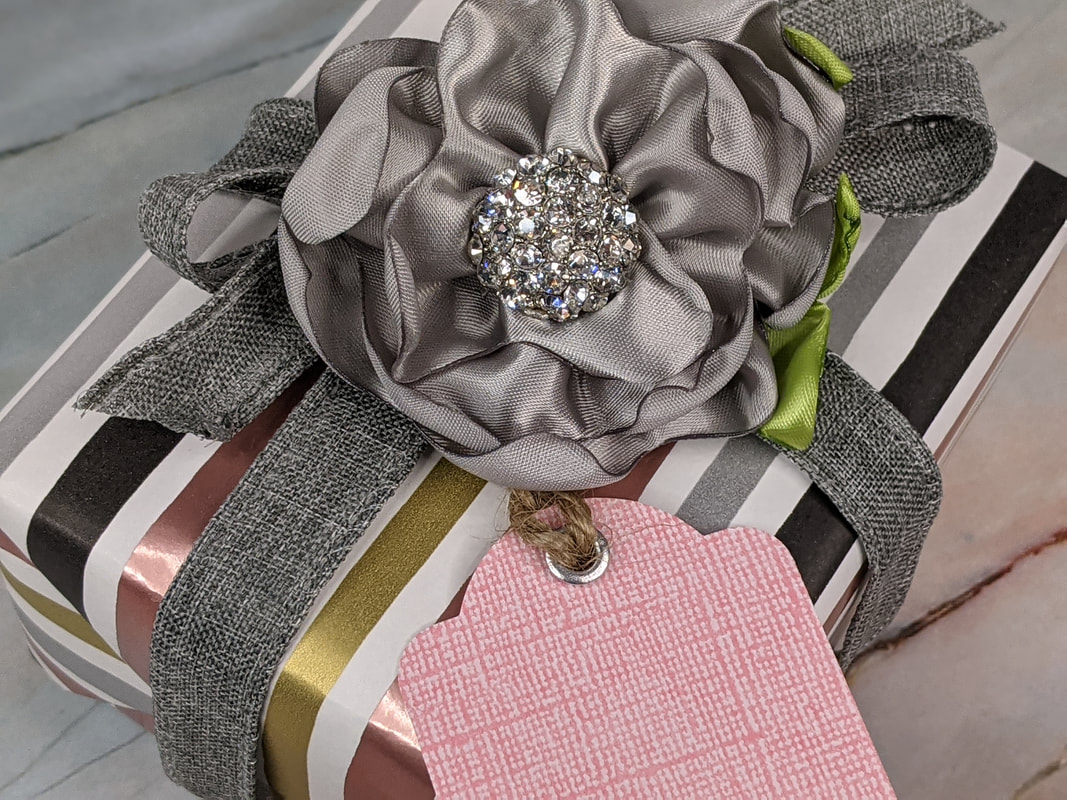 The first thing you'll need to do is gather your supplies. Here is what I used:
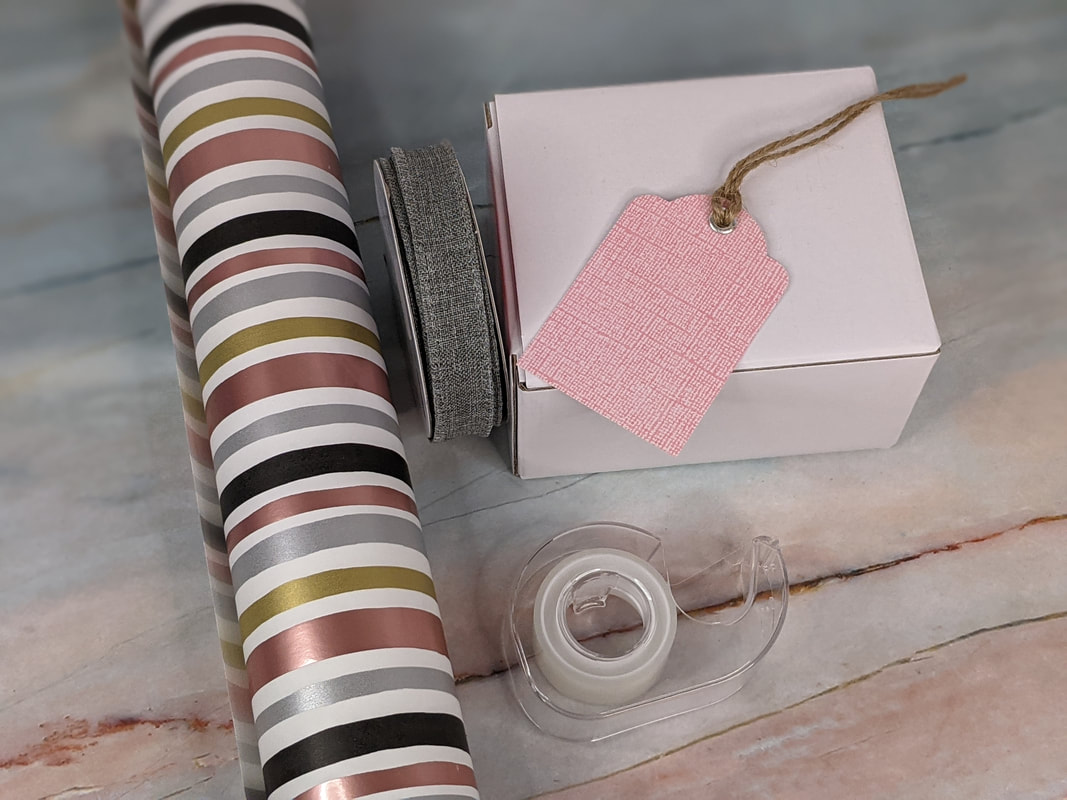 INSTRUCTIONS: Cut your paper to size, making sure it will wrap completely around the gift, and will overlap just a little bit. The sides of the paper should go at least halfway up the sides of the box. 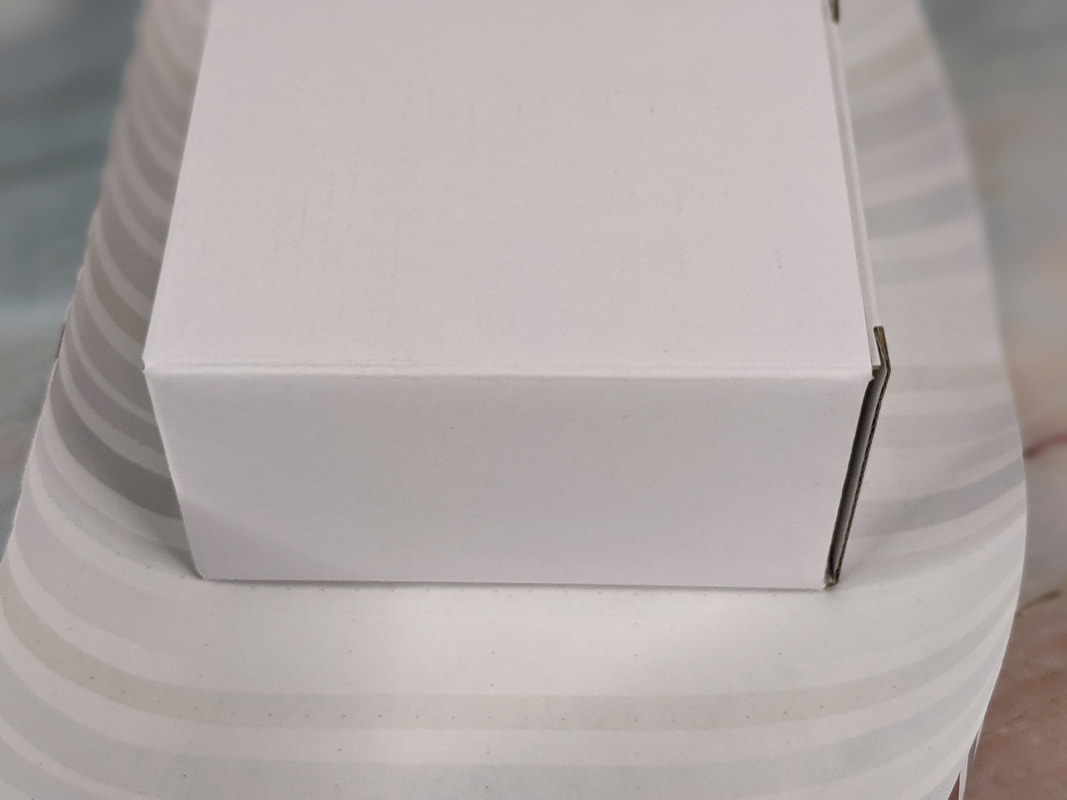 Fold the paper (lengthwise) completely around the gift, and secure with tape. 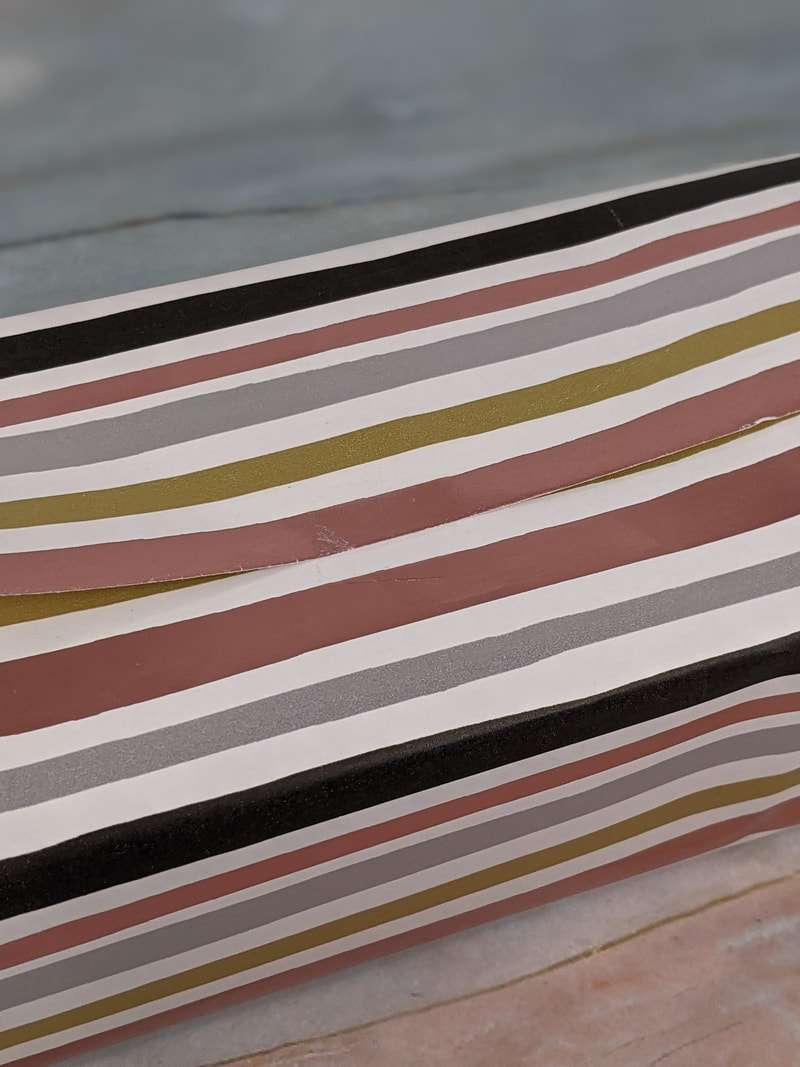 Keep the taped side (seam) facing upward. Fold down the paper on the side of the gift, as shown below, creasing the sides of the paper downward. 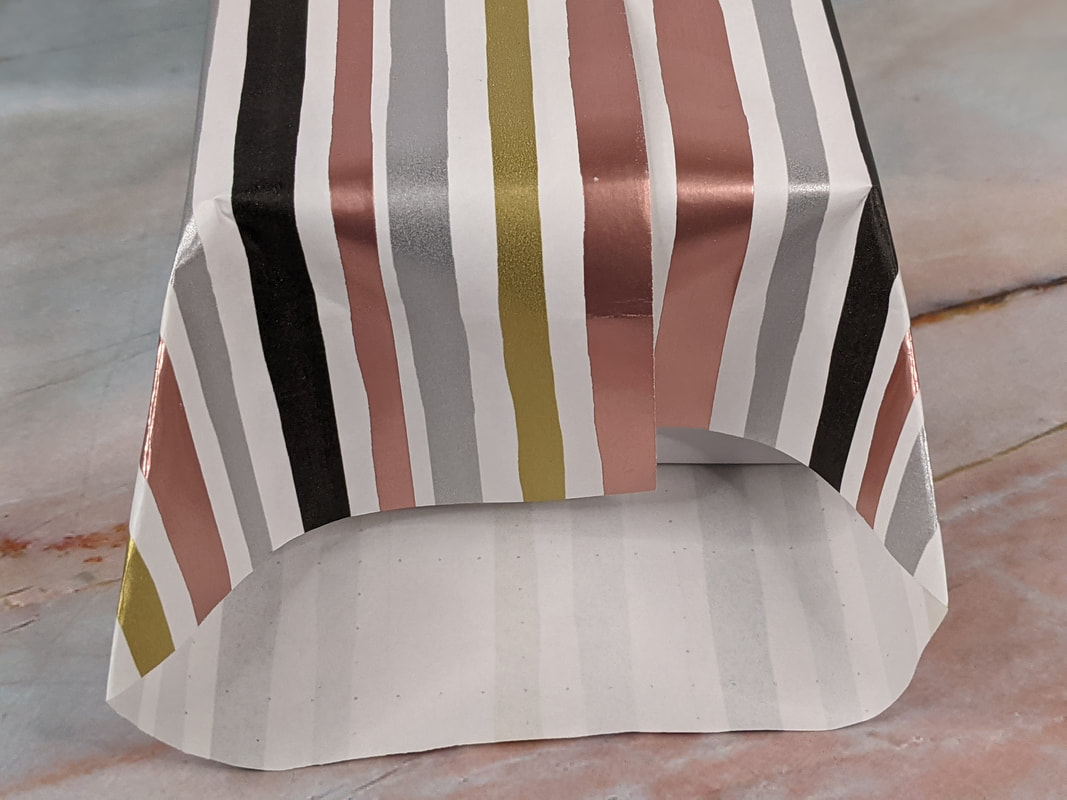 Now fold each side of the paper inward, as shown below. The remaining flap of paper that is on your working surface should form a triangular point.  Fold the triangle upward and secure with tape.  Repeat on the other side, then turn the gift over so the taped seam is on the bottom. 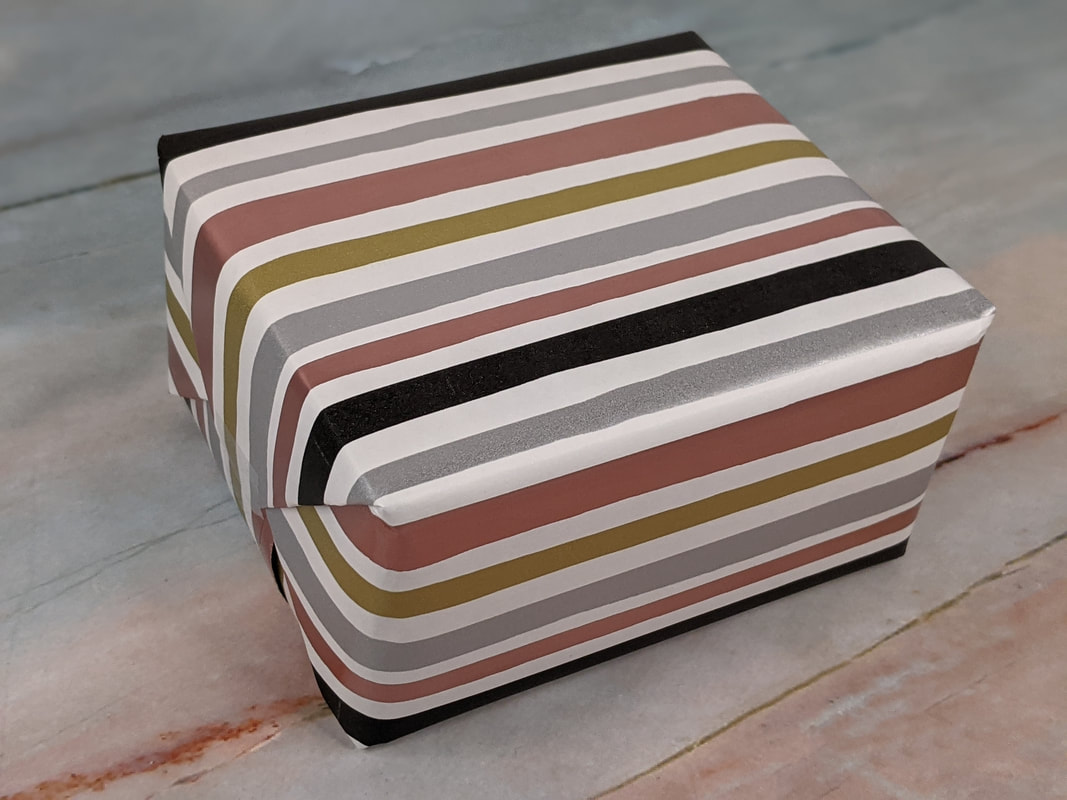 Unroll some ribbon from a spool of ribbon, wrapping it around the present and leaving an extra length of ribbon for tying a bow later. Hold the tail (loose end) of the ribbon and twist the other length of ribbon (attached to spool) to cross over at a 90 degree angle, as shown below. 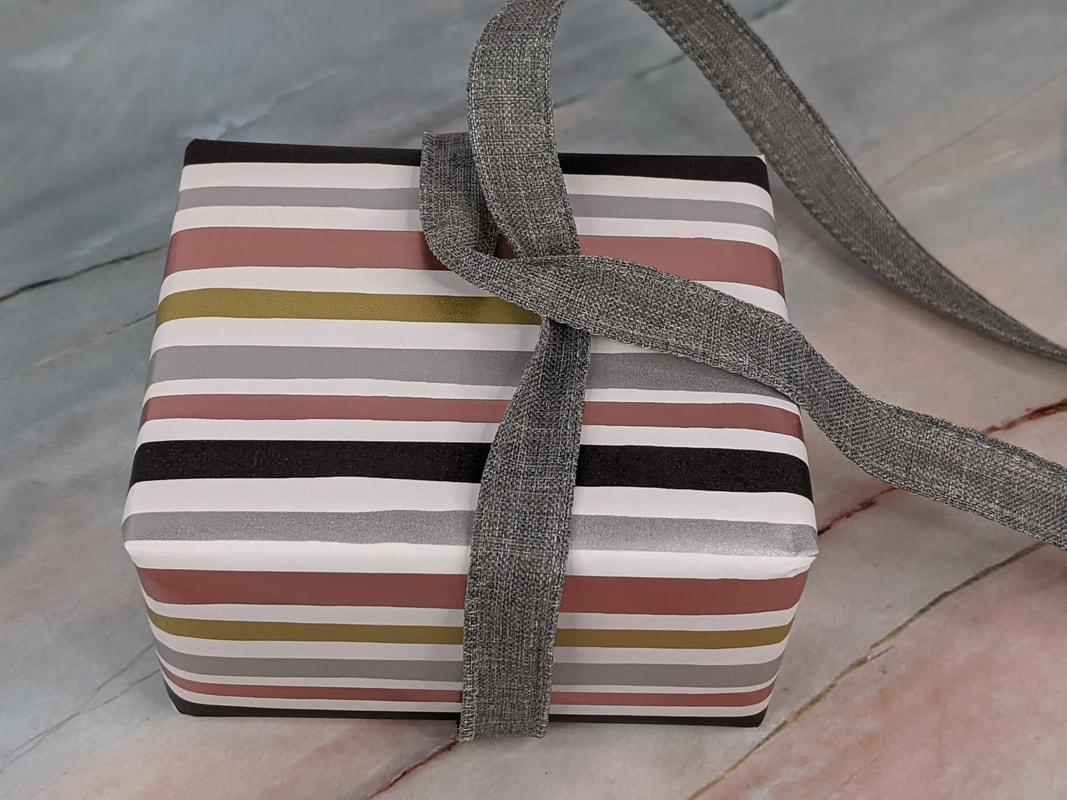 Then bring the turned ribbon around the underside of the gift. (Gift is now turned in photo.) 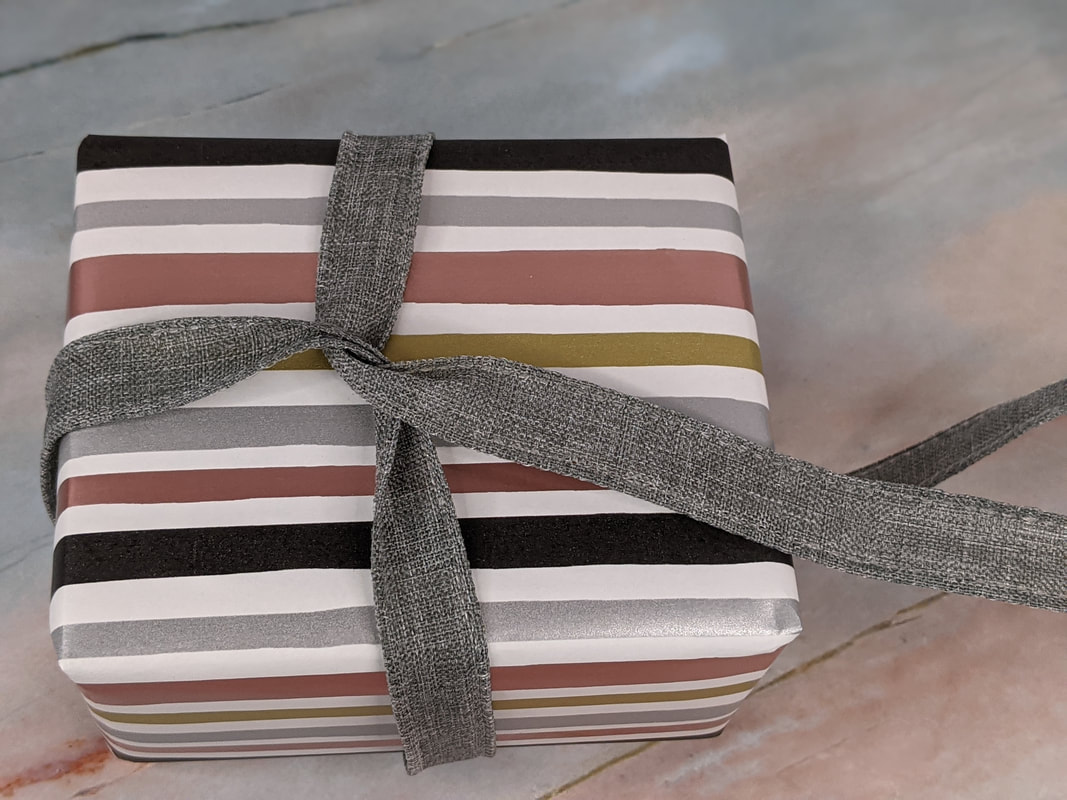 The spool end of ribbon should now cross over the loose end on top of the gift. 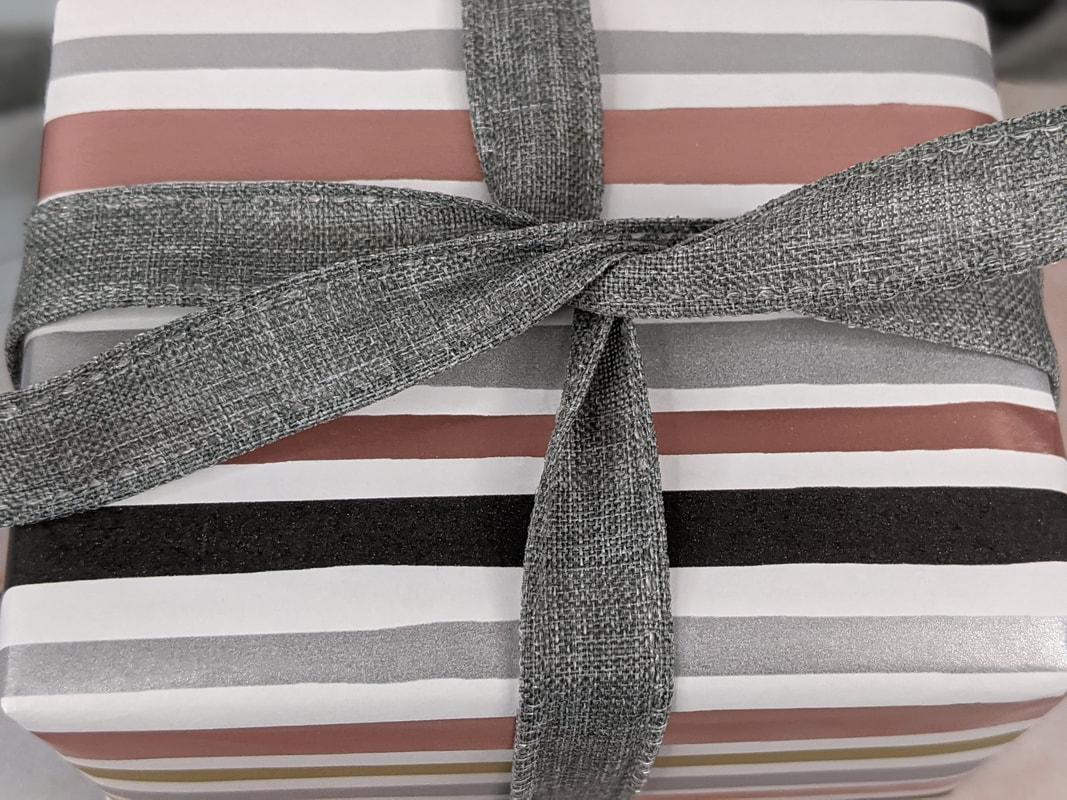 Circle the loose end of ribbon under the spool end which you just brought up from the underside. This just twists all sections of ribbon together where it meets in the middle on top of the gift. 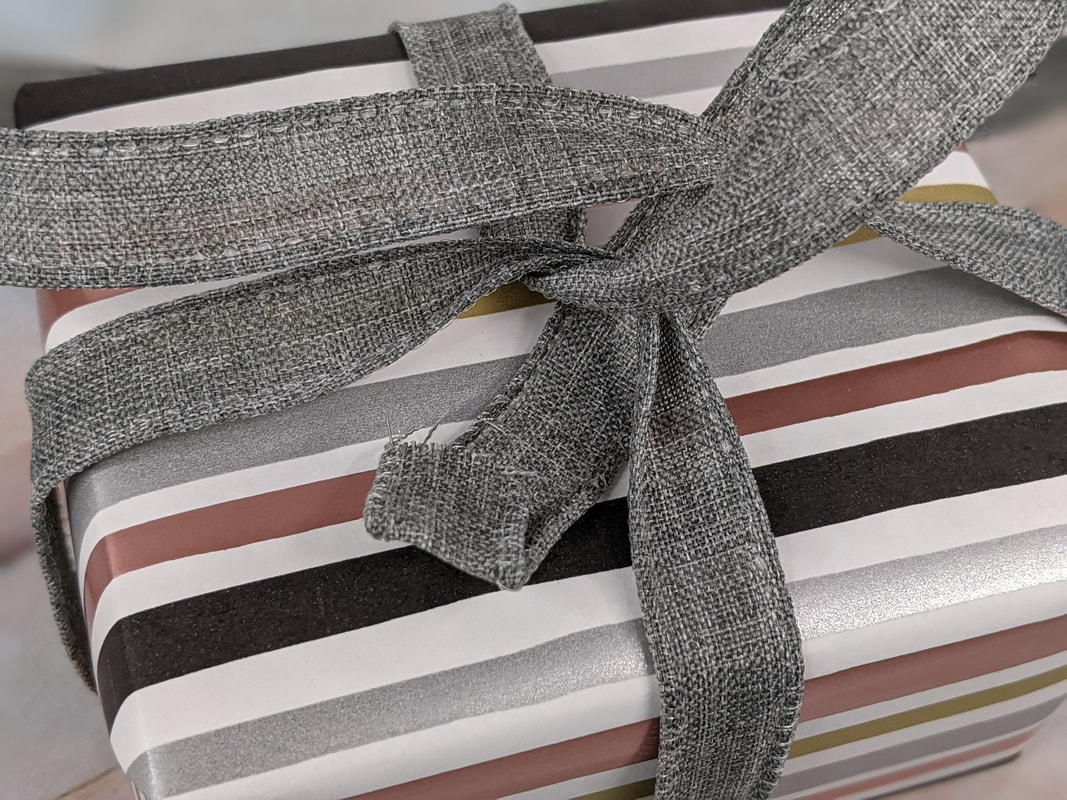 Tie a bow, just like you would tie a shoe!  Fold the ends of the ribbon and cut diagonally, as shown. 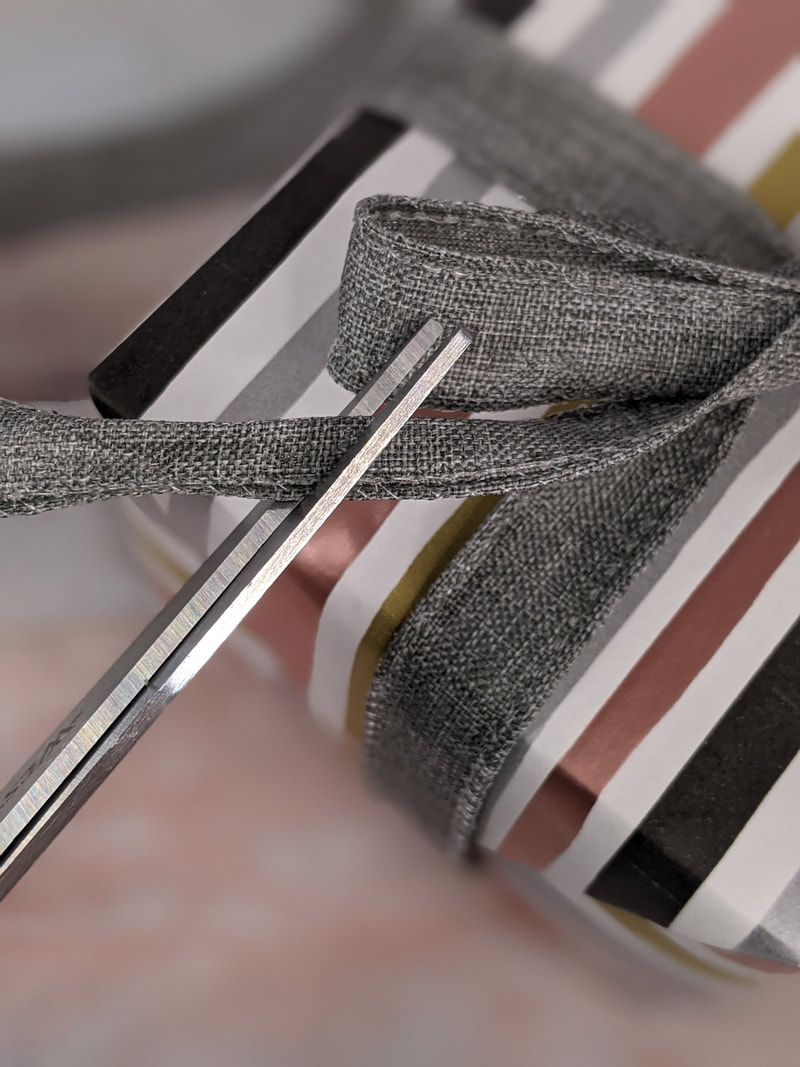 It should look similar to the photo below, with cute little tails on the ends of your ribbon, 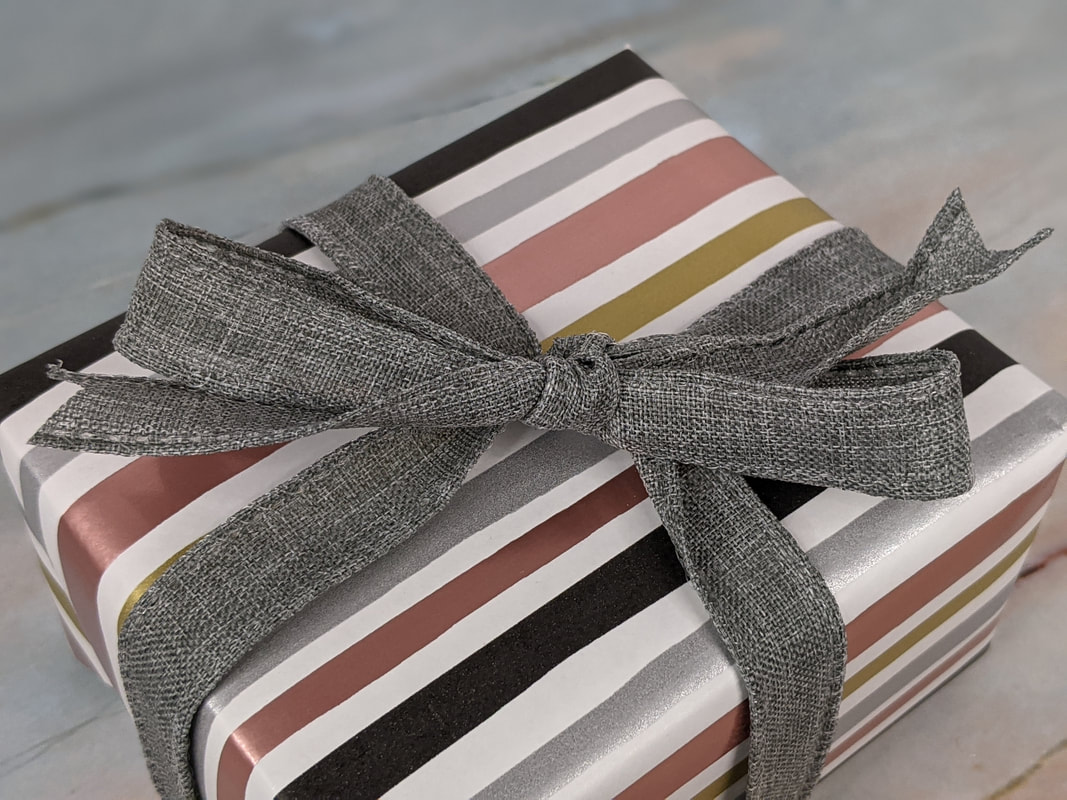 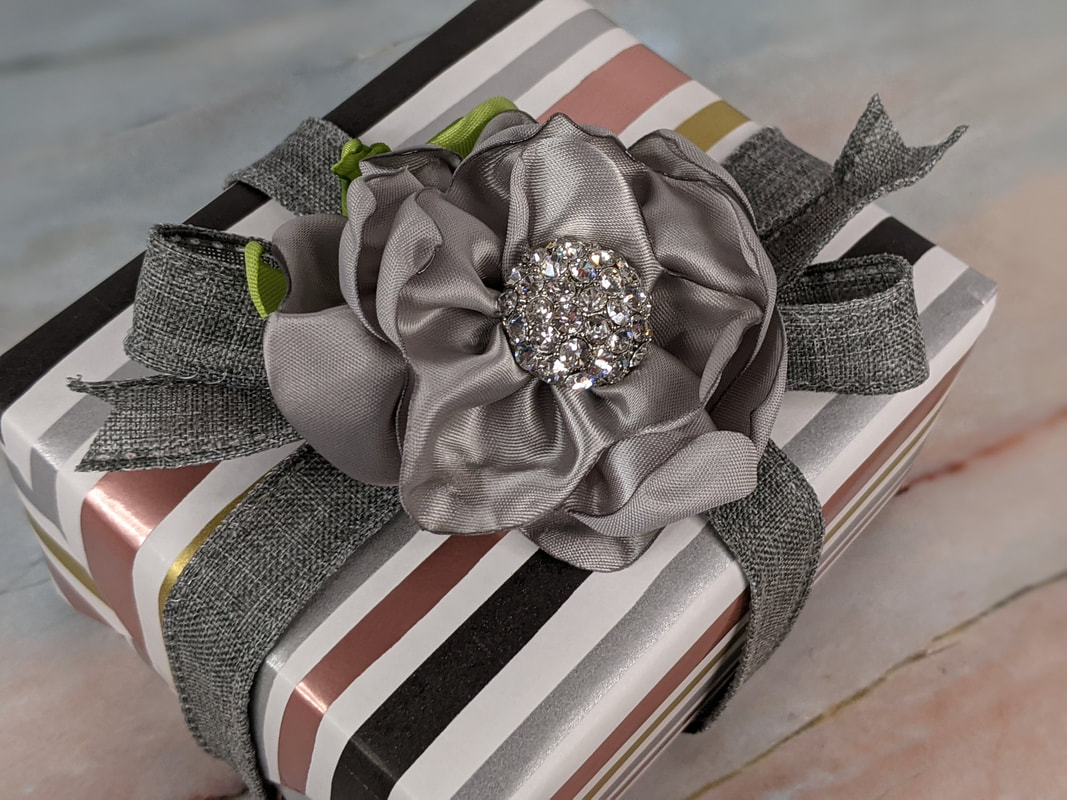 If you would like to add a tag, just tie one around the center of your bow. Tags are available here: Tags 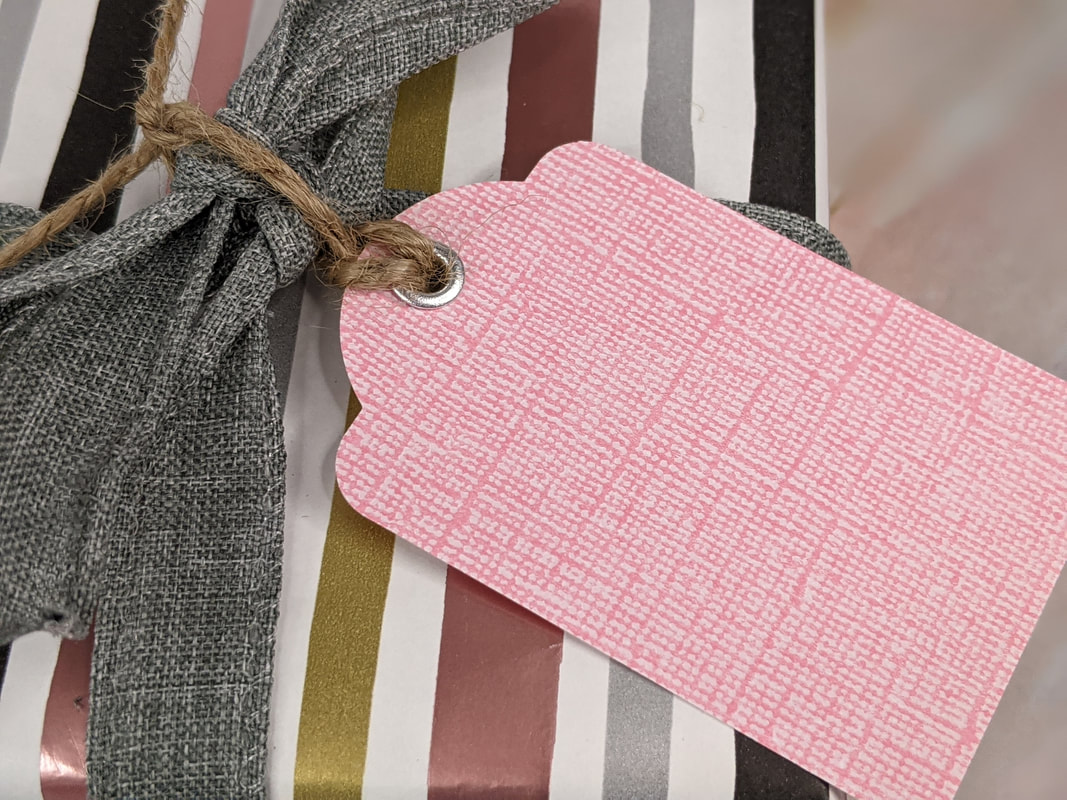 Here is the completed look! A beautiful present, certain to make the recipient feel important and special. 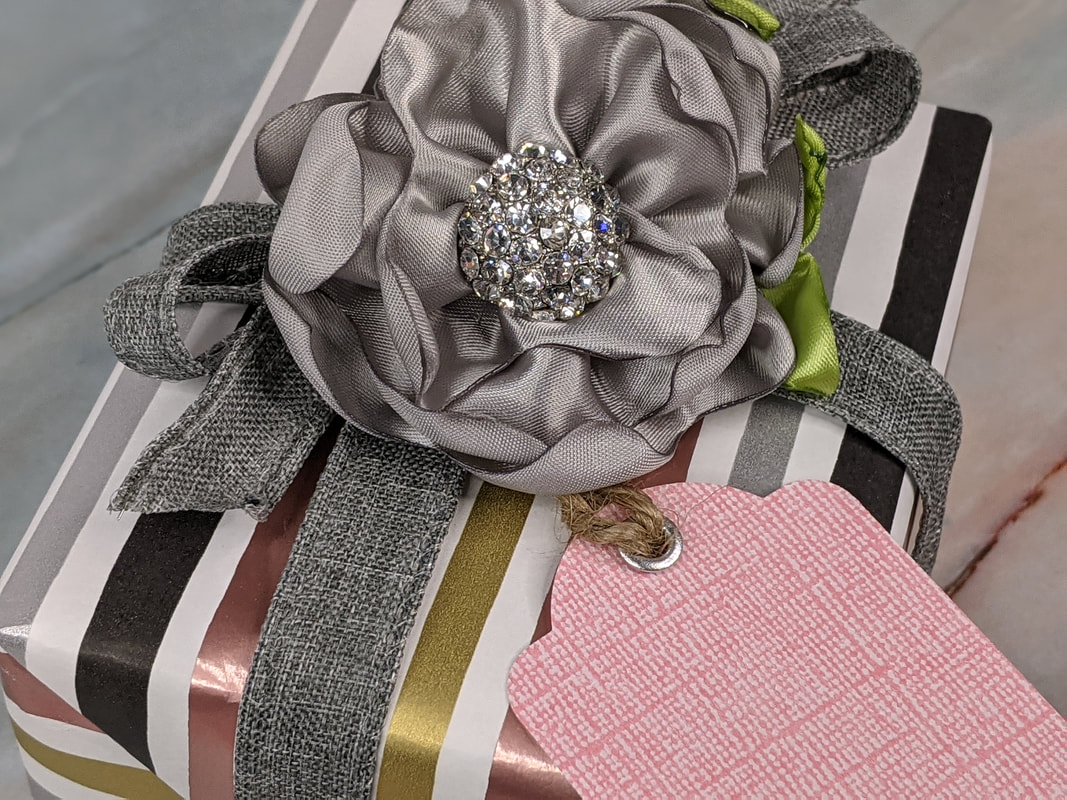 Be sure to check out our gift wrapping subscription boxes! We can send you a monthly box of premium gift wrapping supplies so you can wrap your own fancy gifts!
Find them here: Subscriptions |
AuthorMy name is Alice, and I love crafting! I invite you to create beautiful handmade items while crafting with me! Archives
May 2024
Categories
All
|
||||
 RSS Feed
I Would Love to Have You FOLLOW Me ON SOCIAL MEDIA! |
|

Contact us, and find our shipping and return policy here: Contact