• Published on

    Printable Scripture Coloring Sheets

    Free Printable Scripture Coloring Sheets
    Enjoy these free printable Scripture coloring sheets!  Aren't they the cutest?  These would be great for teaching a Sunday School class, a busy activity for a day care, a homeschool project, a boredom buster for your kids or grandkids, or even just a fun project for you to color!  Just print and enjoy coloring! This is also a great way to work on Scripture memorization!!

    (Credit: My sister Lauren, our wonderful and talented Virtual Assistant!) 
  • Published on

    How to Wrap A Gift: Gift Wrapping Tutorial

    I am going to show you my method for wrapping beautiful presents!
    How to Wrap a Gift: Gift Wrapping Tutorial
    The first thing you'll need to do is gather your supplies. Here is what I used:
    • Wrapping Paper
    • Gift in a Box
    • Tape
    • Ribbon
    • Tag
    • (Also any embellishments you want to add!)
    Gift Wrapping Supplies
    INSTRUCTIONS:
    Cut your paper to size, making sure it will wrap completely around the gift, and will overlap just a little bit.  The sides of the paper should go at least halfway up the sides of the box. 
    Gift Wrapping Tutorial
    Fold the paper (lengthwise) completely around the gift, and secure with tape.
    How to Wrap a Gift
    Keep the taped side (seam) facing upward. Fold down the paper on the side of the gift, as shown below, creasing the sides of the paper downward. 
    Gift Wrapping Instructions
    Now fold each side of the paper inward, as shown below. The remaining flap of paper that is on your working surface should form a triangular point.
    DIY Gift Wrapping
    Fold the triangle upward and secure with tape.
    Learn How to Wrap a Gift
    Repeat on the other side, then turn the gift over so the taped seam is on the bottom.
    Gift Wrapping Made Easy
    Unroll some ribbon from a spool of ribbon, wrapping it around the present and leaving an extra length of ribbon for tying a bow later.  Hold the tail (loose end) of the ribbon and twist the other length of ribbon (attached to spool) to cross over at a 90 degree angle, as shown below.  
    How to Wrap a Gift
    Then bring the turned ribbon around the underside of the gift. (Gift is now turned in photo.)
    Wrapping Gifts Photo Tutorial
    The spool end of ribbon should now cross over the loose end on top of the gift.
    How to make gifts look nice!
    Circle the loose end of ribbon under the spool end which you just brought up from the underside. This just twists all sections of ribbon together where it meets in the middle on top of the gift.
    Step-by-Step Instructions for Wrapping a Gift
    Tie a bow, just like you would tie a shoe!
    Gift Wrapping Ideas
    Fold the ends of the ribbon and cut diagonally, as shown.
    Pretty Ribbons for Wrapping Gifts
    It should look similar to the photo below, with cute little tails on the ends of your ribbon,
    How to make a gift look pretty!
    Add an embellishment, such as one of our flower gift bow clips! 
    Find them here: Wrapping
    DIY Gift Wrapping Tutorial
    If you would like to add a tag, just tie one around the center of your bow. 
    Tags are available here: Tags
    Add a gift tag to a wrapped gift!
    Here is the completed look! A beautiful present, certain to make the recipient feel important and special.
    Beautiful Gift Wrapping Tutorial and Subscription Wrapping Boxes
    Be sure to check out our gift wrapping subscription boxes!  We can send you a monthly box of premium gift wrapping supplies so you can wrap your own fancy gifts!
    Find them here: Subscriptions
  • Published on

    Crochet a Doll Blanket with Scrap Yarn!

    What do you do with your leftover yarn?  All those small scraps of yarn and partial skeins of yarn from past projects that you just know will come in handy one day.
    For me, the scraps of leftover yarn just keep adding up. And when I find that my scrap yarn basket is overflowing, I know it's time for a scrap busting weekend project!
    Picture
    There are many projects just perfect for these yarn leftovers! I thought I would share one of those ideas with you today.  This is a scrap yarn blanket I made for my 3 year old daughter to use with her favorite teddy bear.  Oh, she wants me to mention that her teddy is named Walrus.  Don't you just love that?  The blanket is such an easy and quick project, you could finish it in a few hours.
    For this Doll Blanket I used:
    Size J crochet hook (6.00mm)
    Leftover yarn (I made sure to use the same thickness yarn for the entire blanket)
    The first thing I did was make a big yarn ball of my scraps, using a magic knot to join the different colors.  Here is what I did next:
    Chain 51 sts
    Double Crochet in second chain and in each chain across. Chain 2, turn (50 sts)
    Double Crochet in second stitch and in each chain across. Chain 2, turn. (50 sts)
    Repeat this row until the blanket is a size you are happy with. (I Double Crocheted 30 rows)
    You could make a much bigger scrap yarn blanket and easily clear out your entire scrap yarn pile!  
    Picture
    (Thank you to my sister, Lauren, for this project post!)
  • Published on

    5 Ways to Give Presents with Presence

    Have you been looking for ways to make your gift giving more special?  They say it's the thought that counts, so how can you make your gifts more thoughtful?  I have some ideas to share with you of how I try to add that special personal touch to giving gifts!

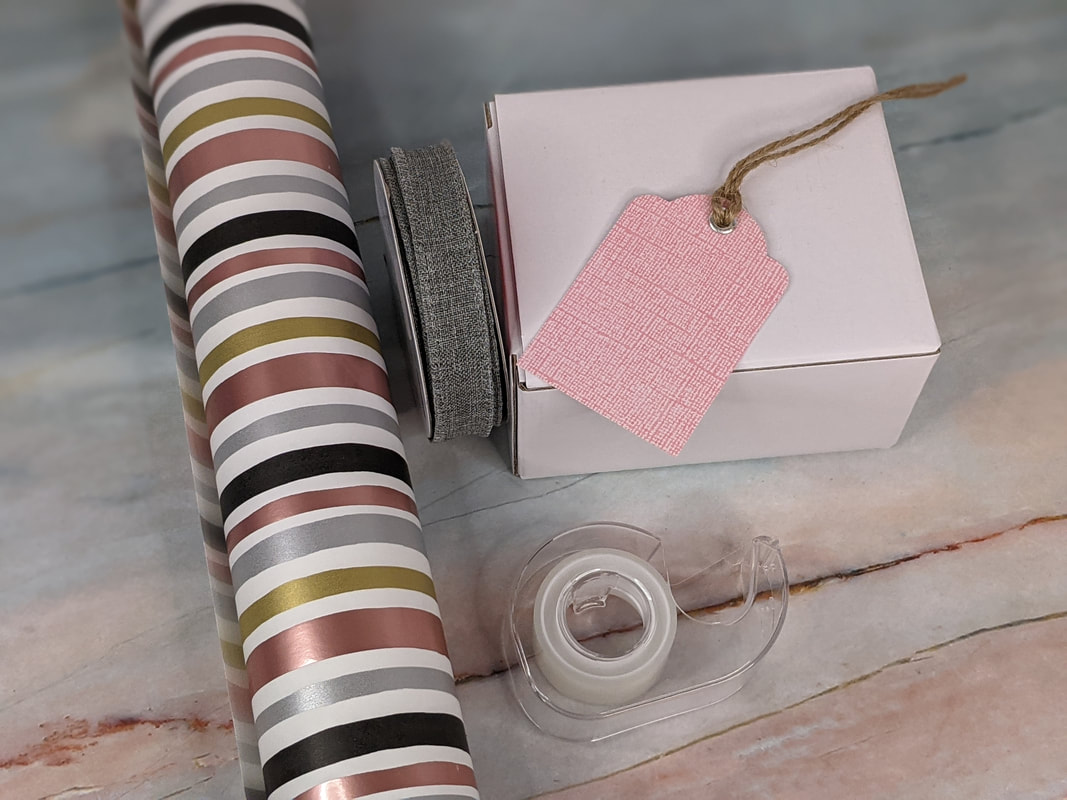
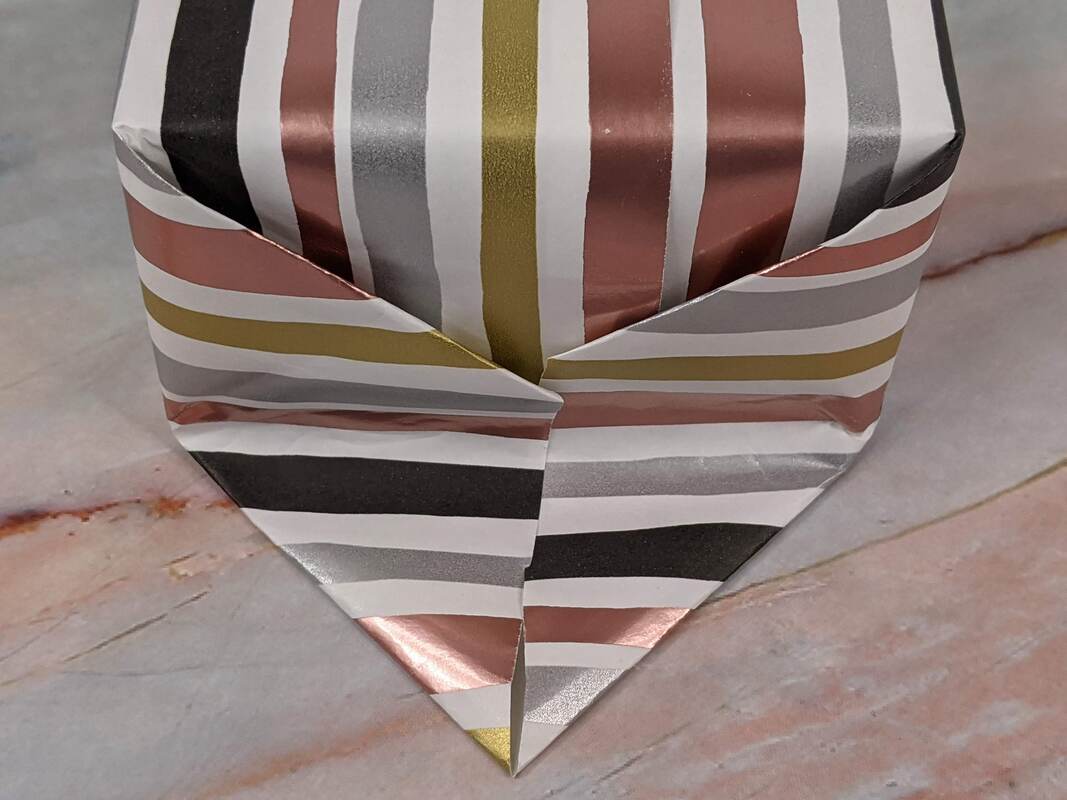
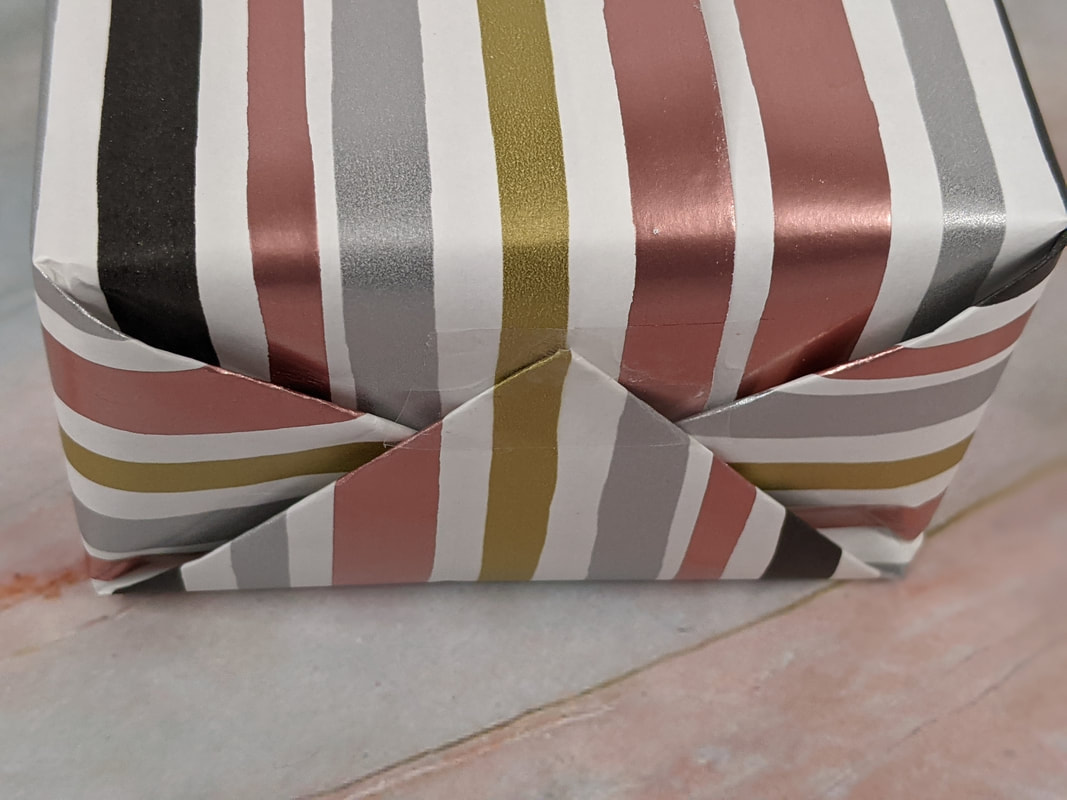
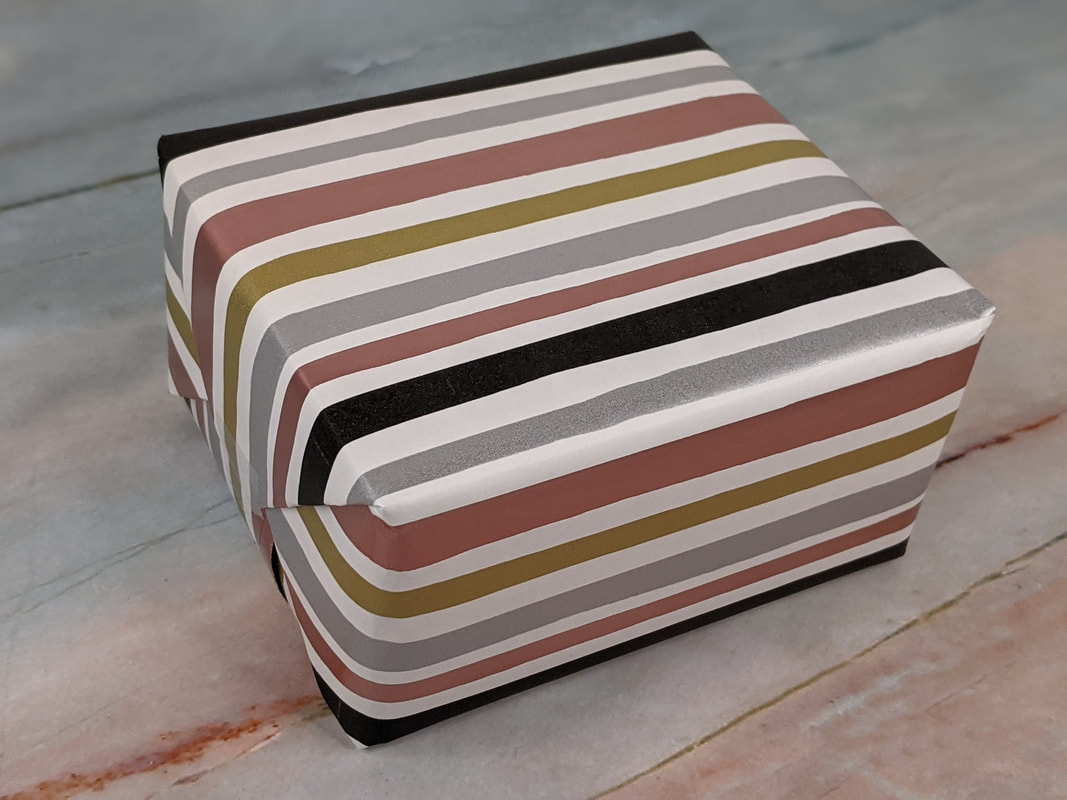
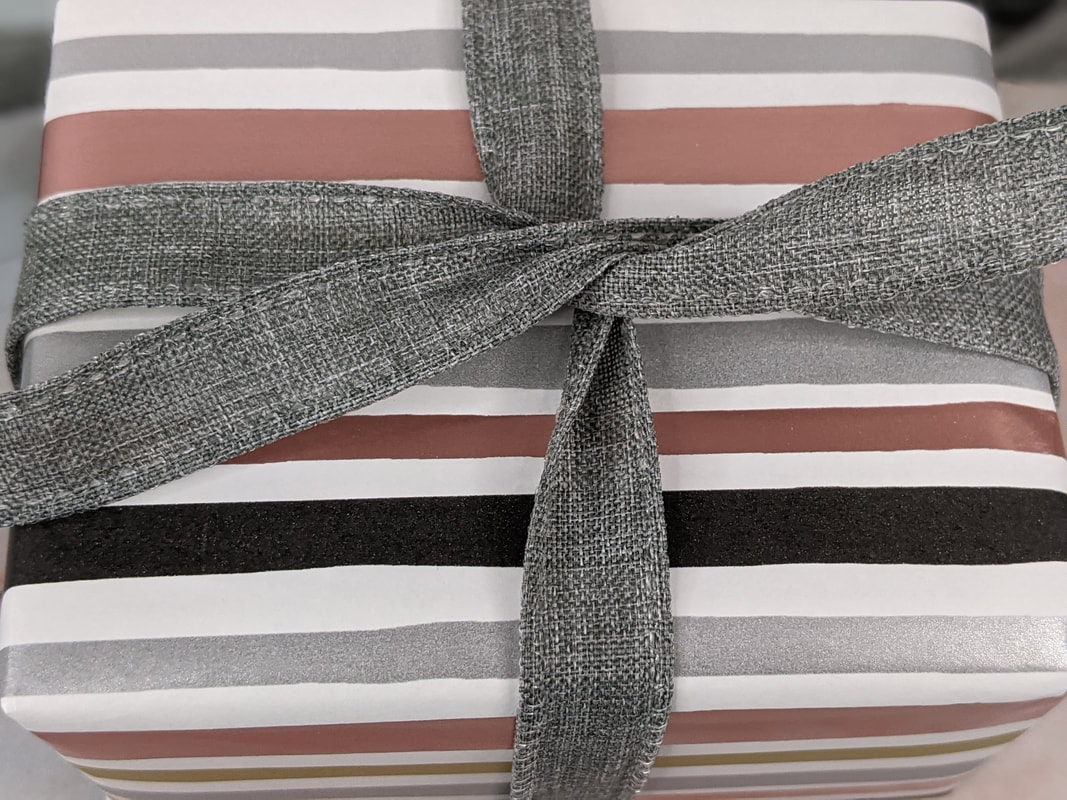
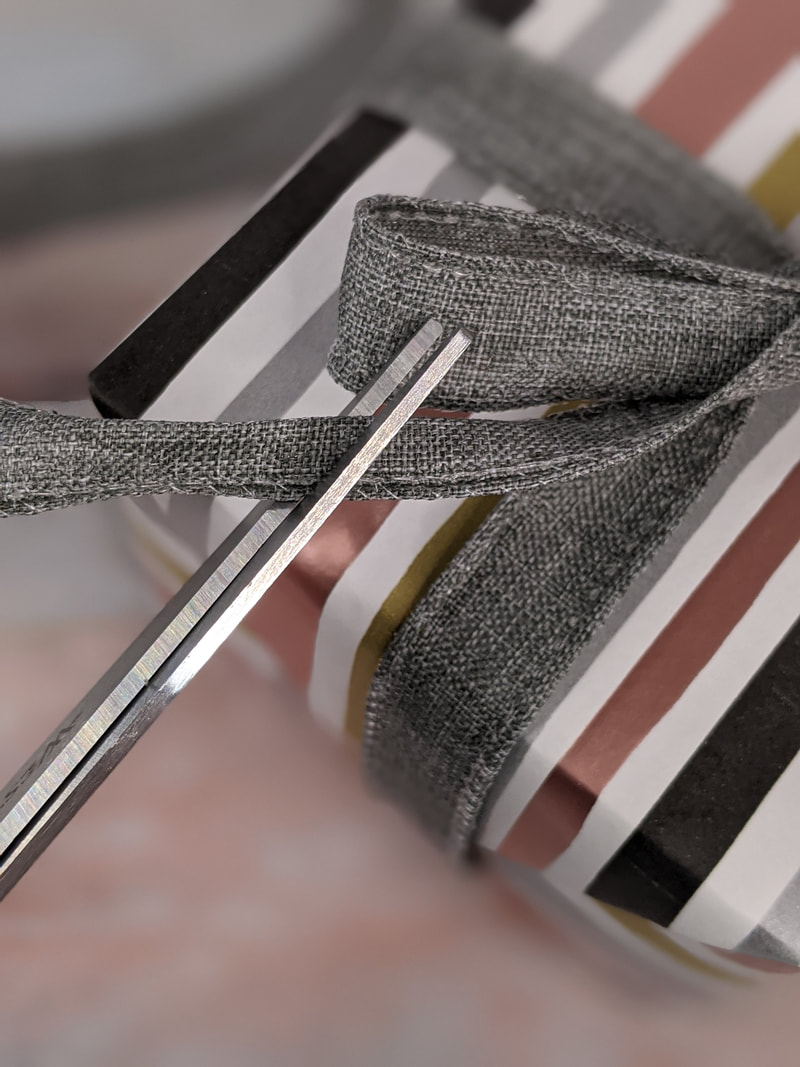
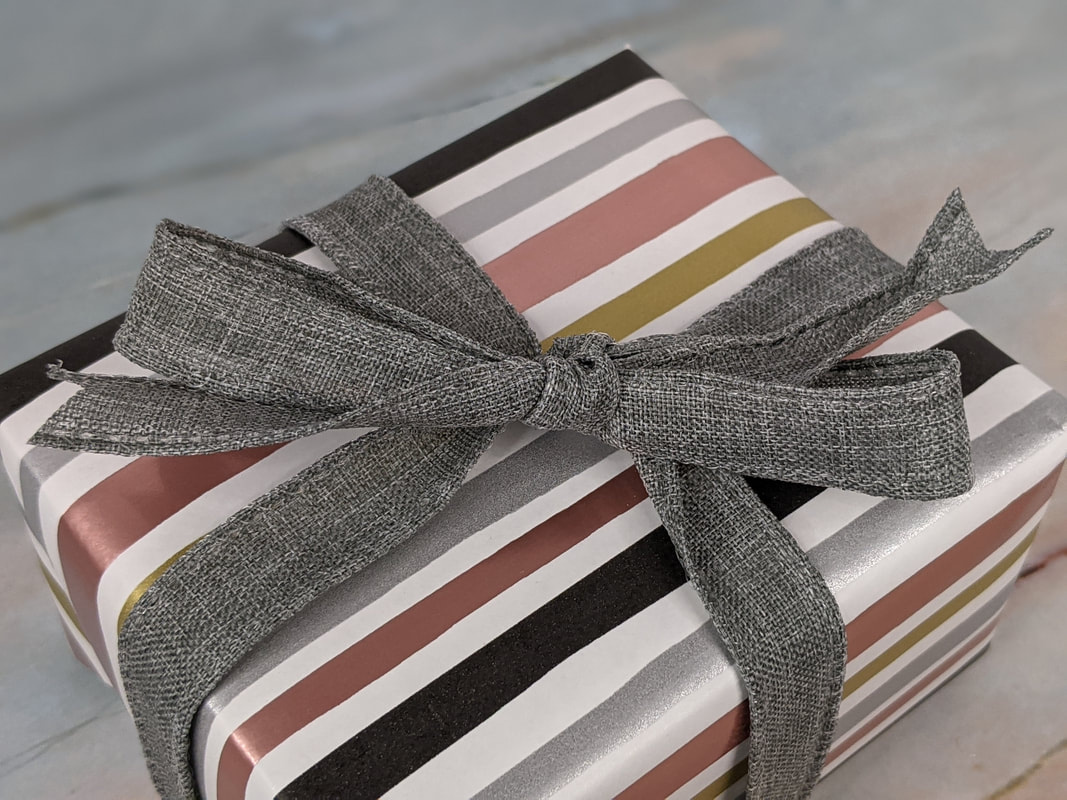
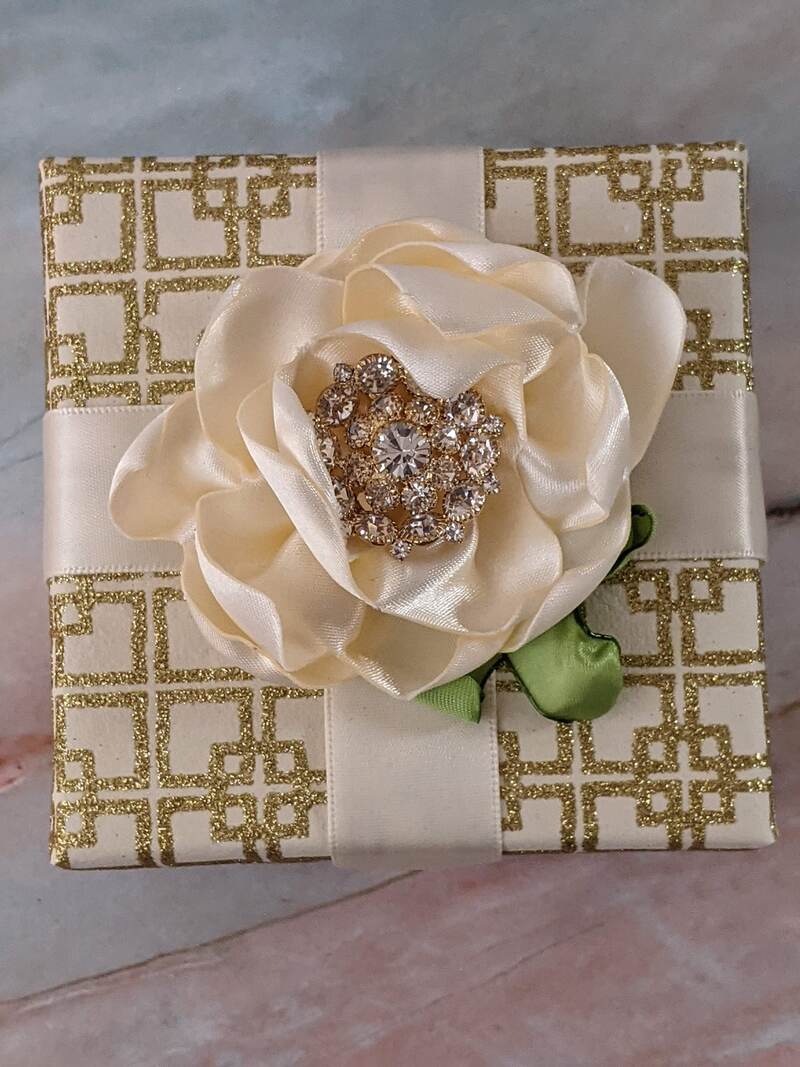
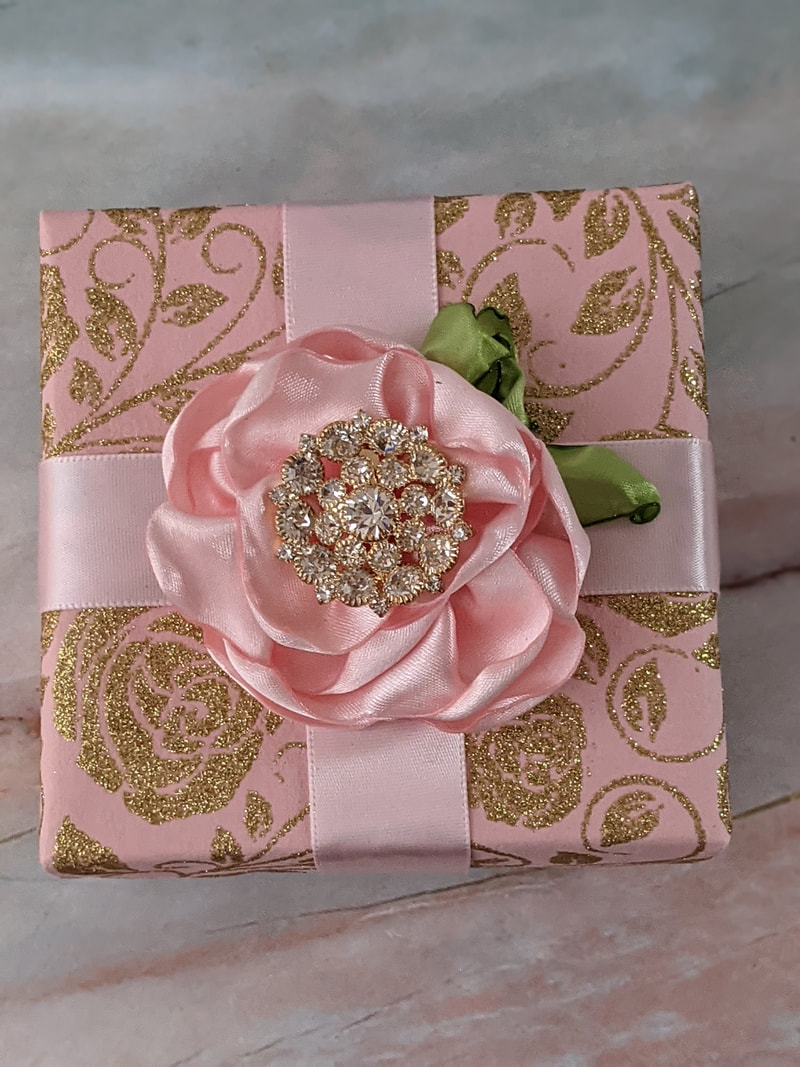
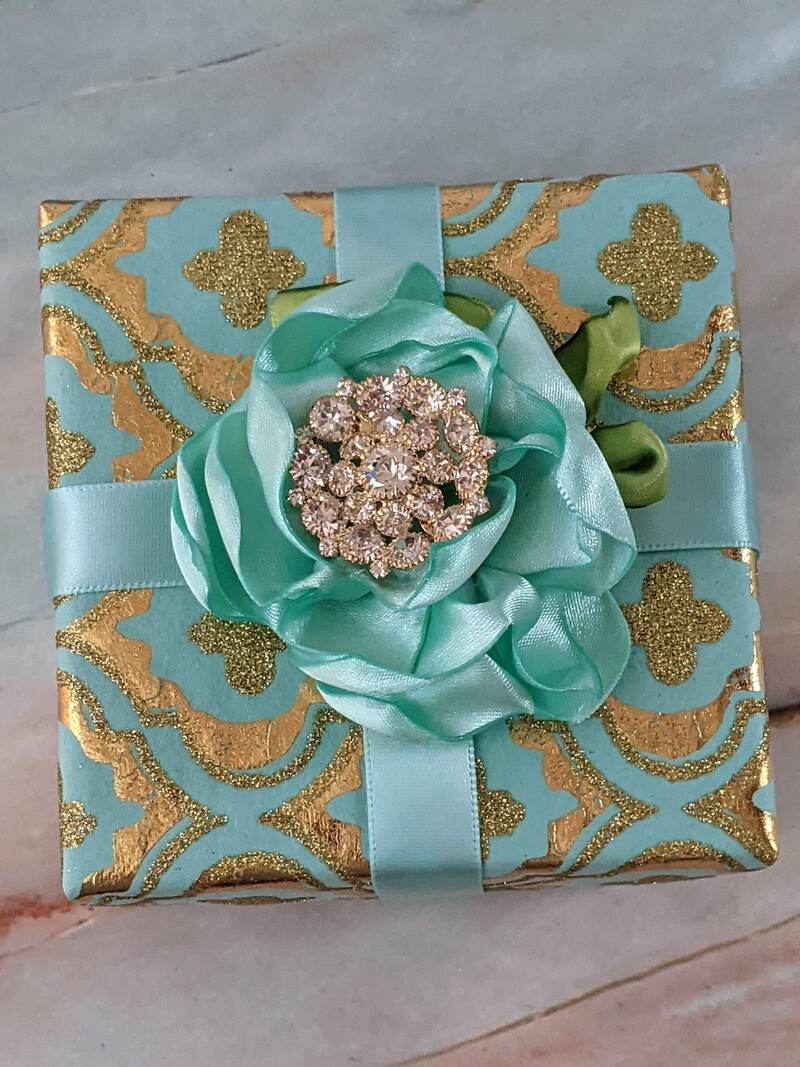
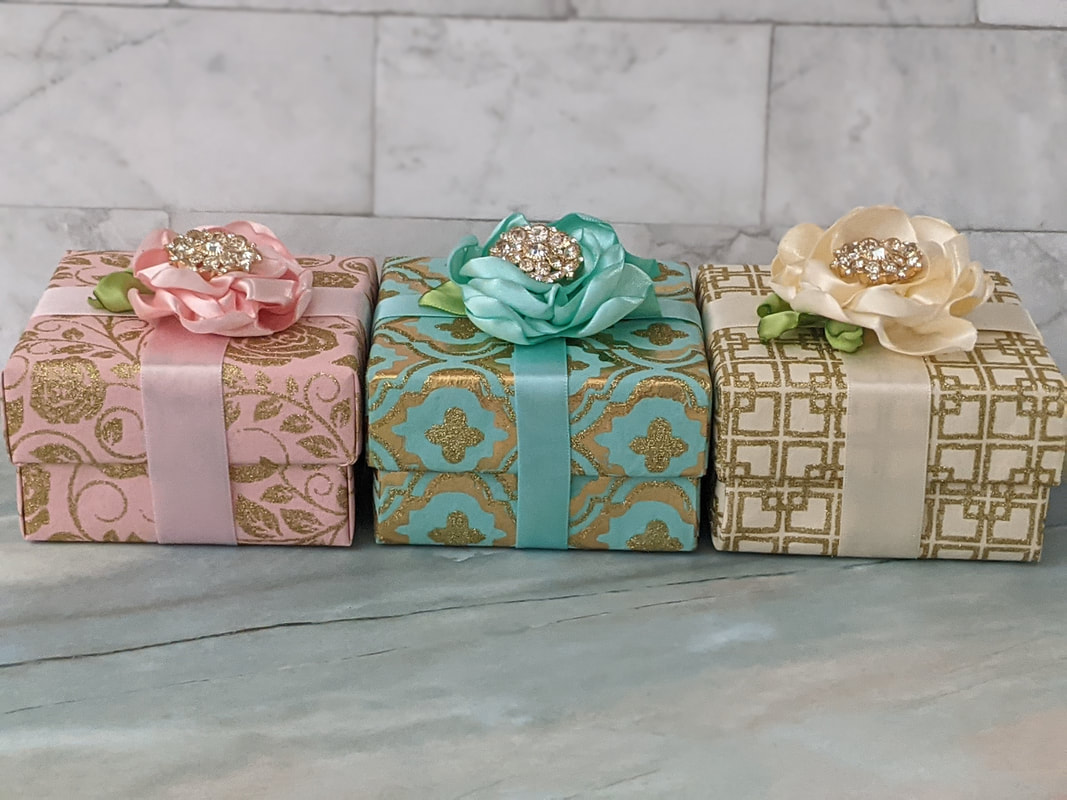
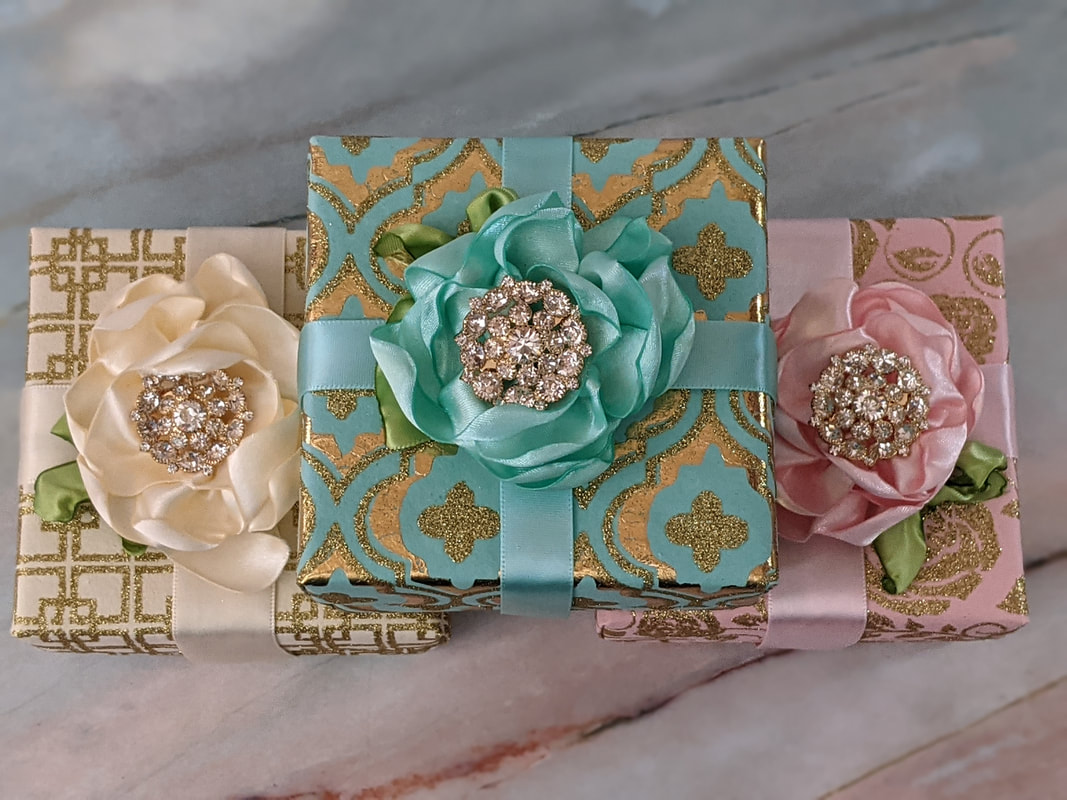
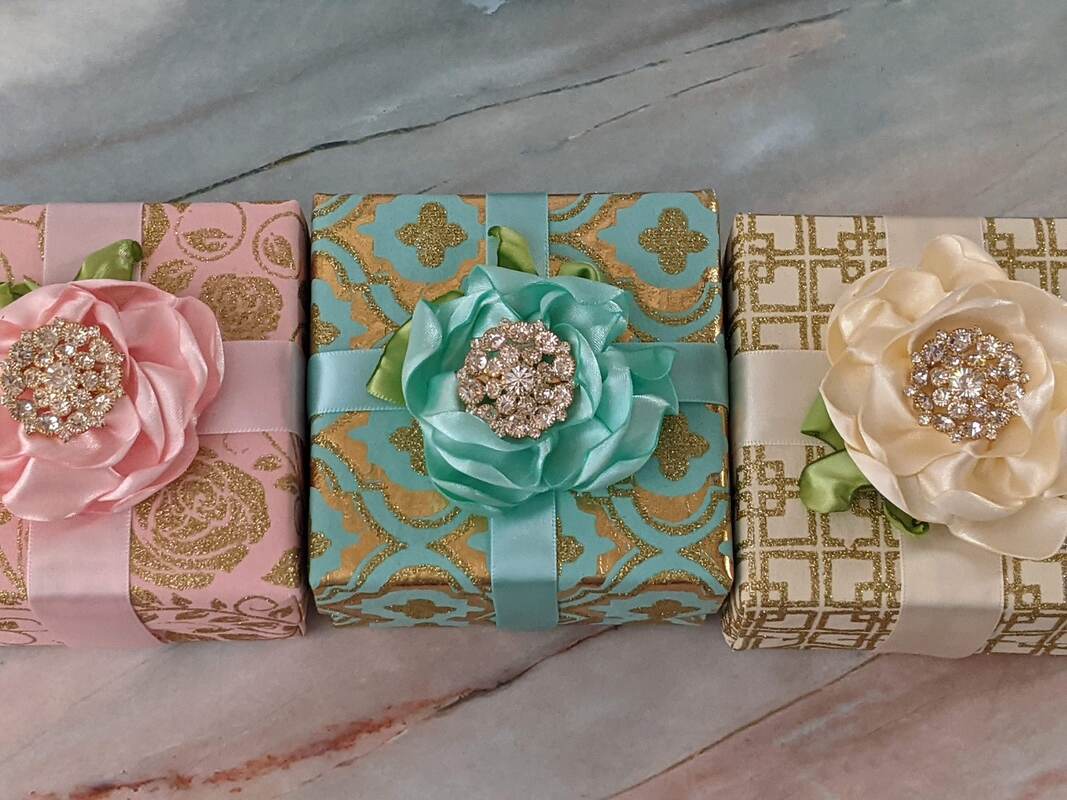
    #1 Use High Quality Gift Wrapping Supplies!...Make it SPARKLE and SHINE!

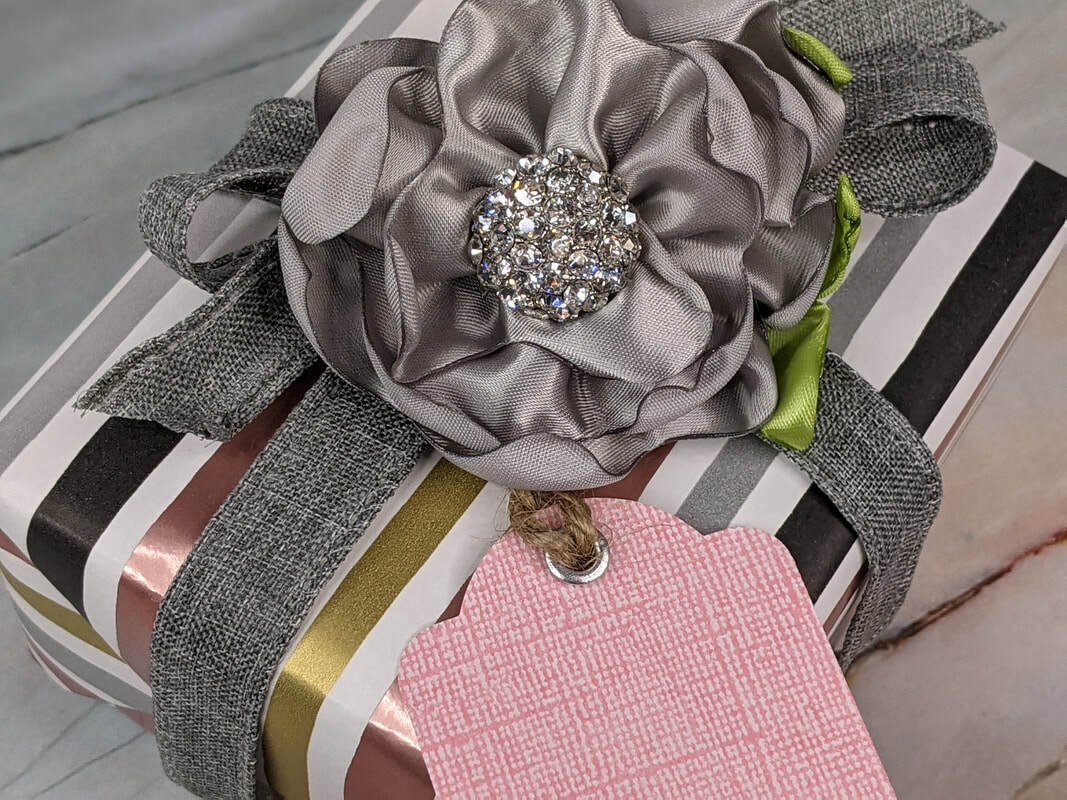
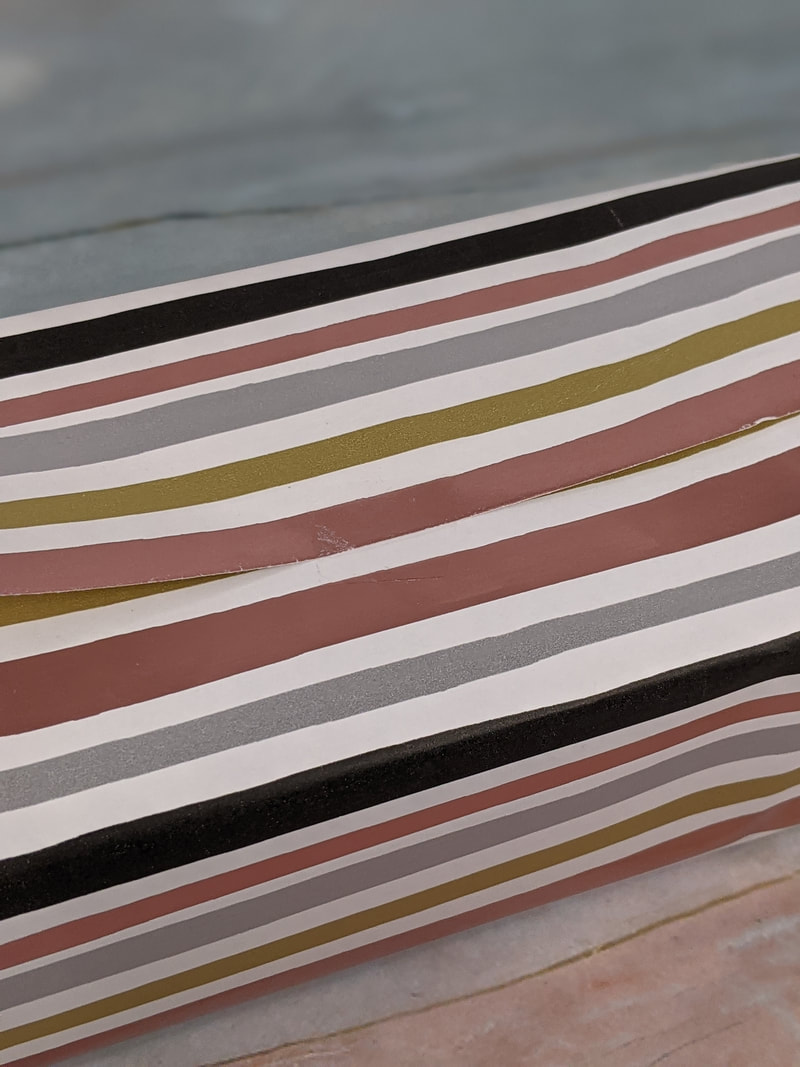
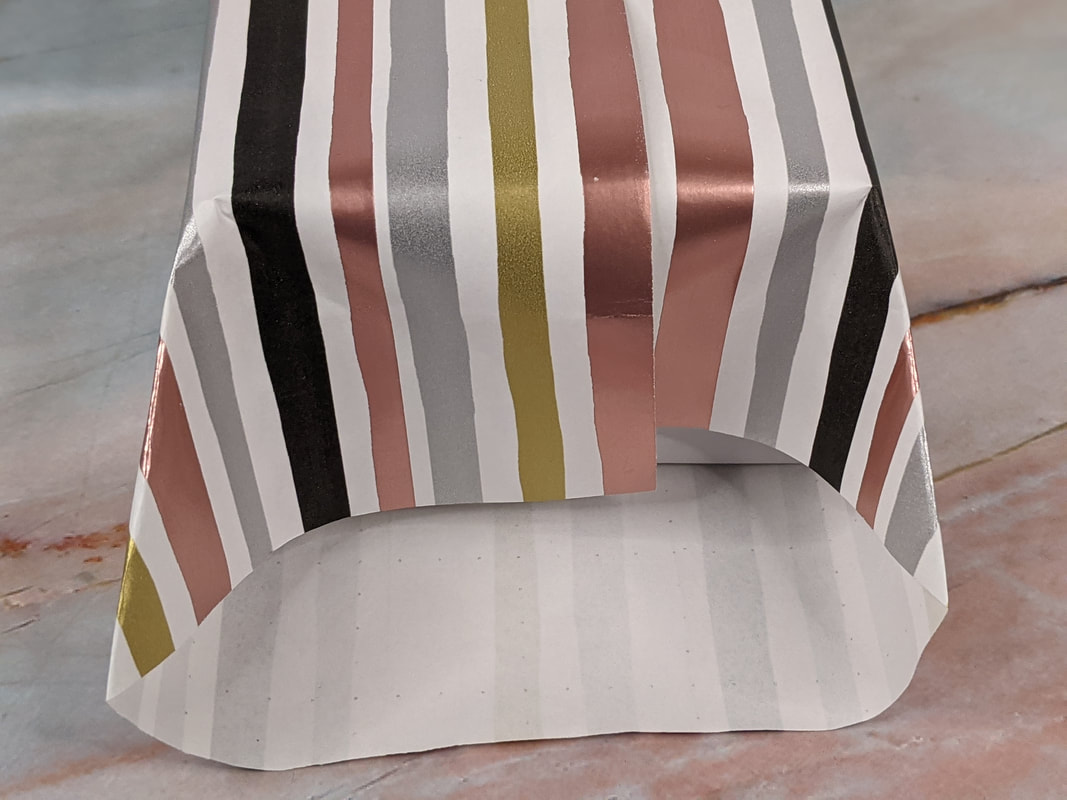
    I always stock up on shiny metallic wrapping paper when I see a good sale!  The same goes for wire-edged ribbon!  I buy and use it so much that I joke, "Ribbon is my love language!" and so is metallic wrapping paper!  I love to wrap gifts to help people feel special...so giving is definitely my love language!  I figure that if I am going to give, I am going to give well!  Give my best, and that shows love to the recipient!  I believe that a gift wrapped in fancy paper even feels more special in the hands than that cheap stuff that rips easily.  Presentation is so important.  If I give someone a pen from the dollar store which is wrapped in dollar store paper, it feels like a dollar store item.  If I give the same pen in a gift box, wrapped in glittery paper with a sheer ribbon bow and a handmade flower on top, it even makes the inexpensive pen feel like a special and thoughtful gift!  The wrapping can really make a difference!

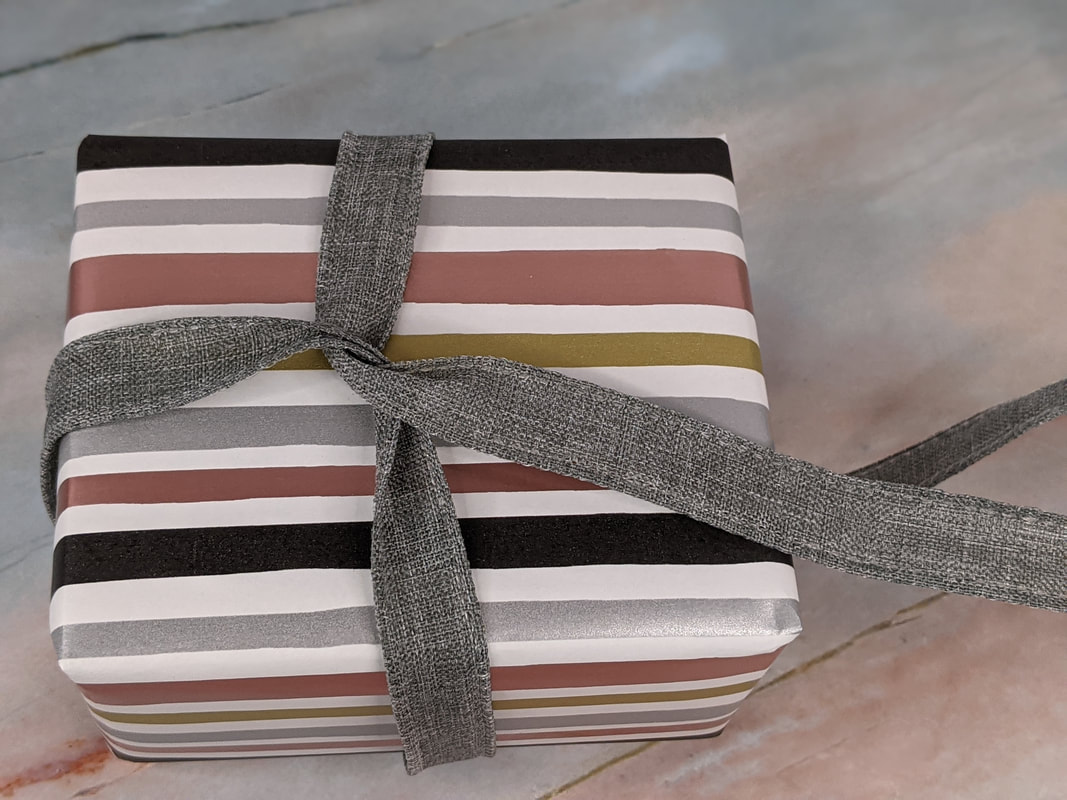
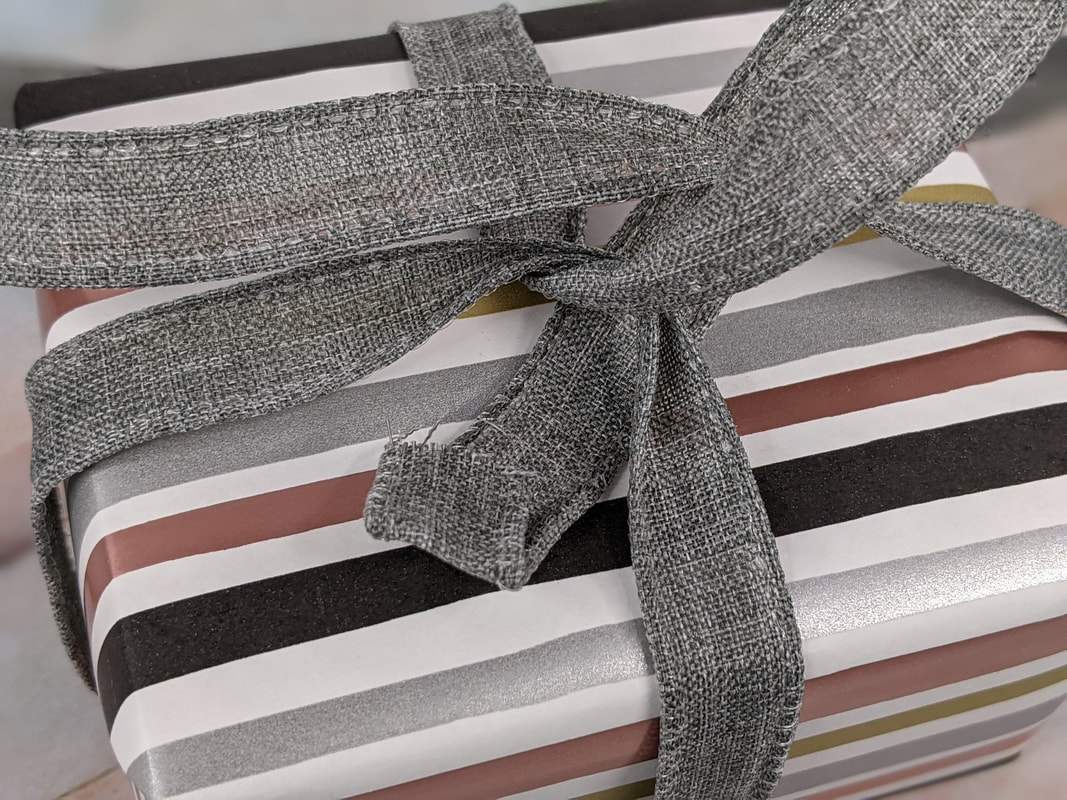
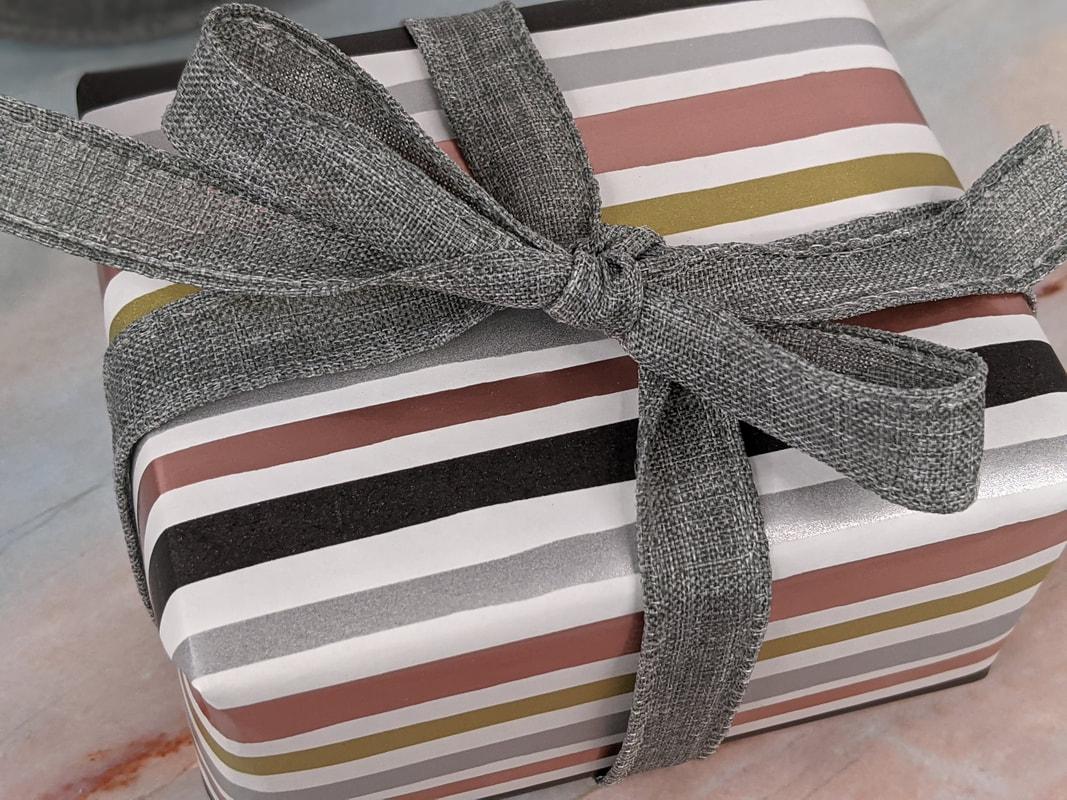
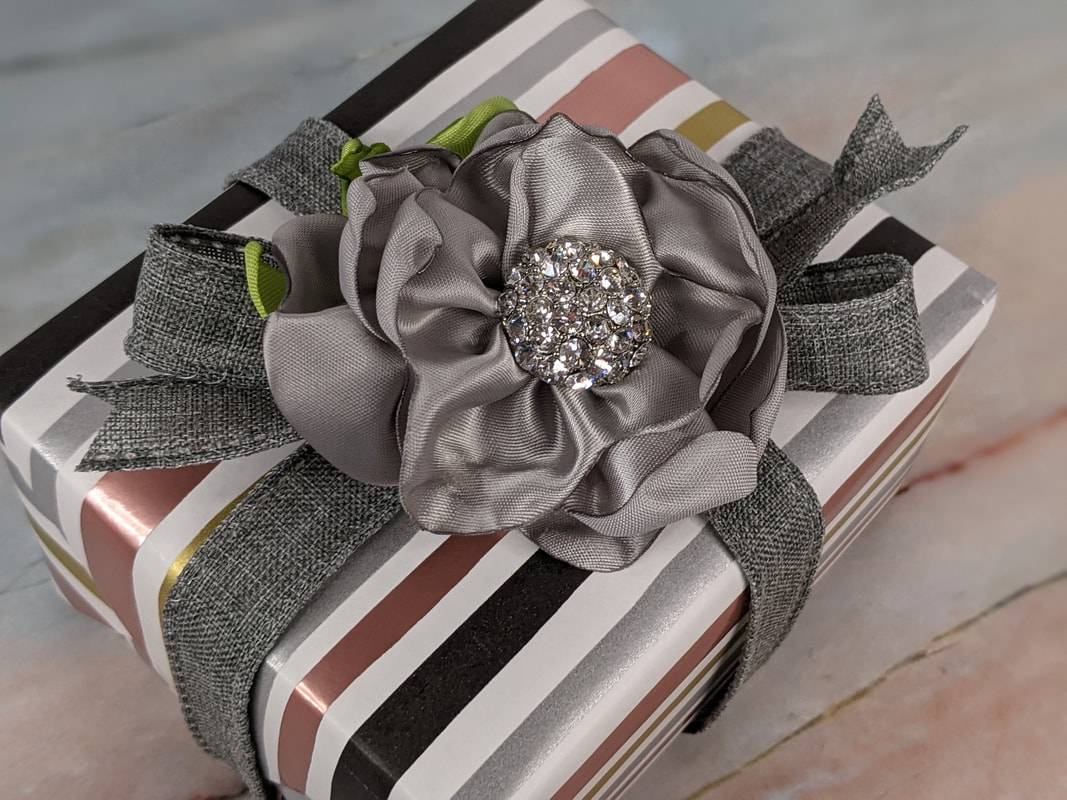
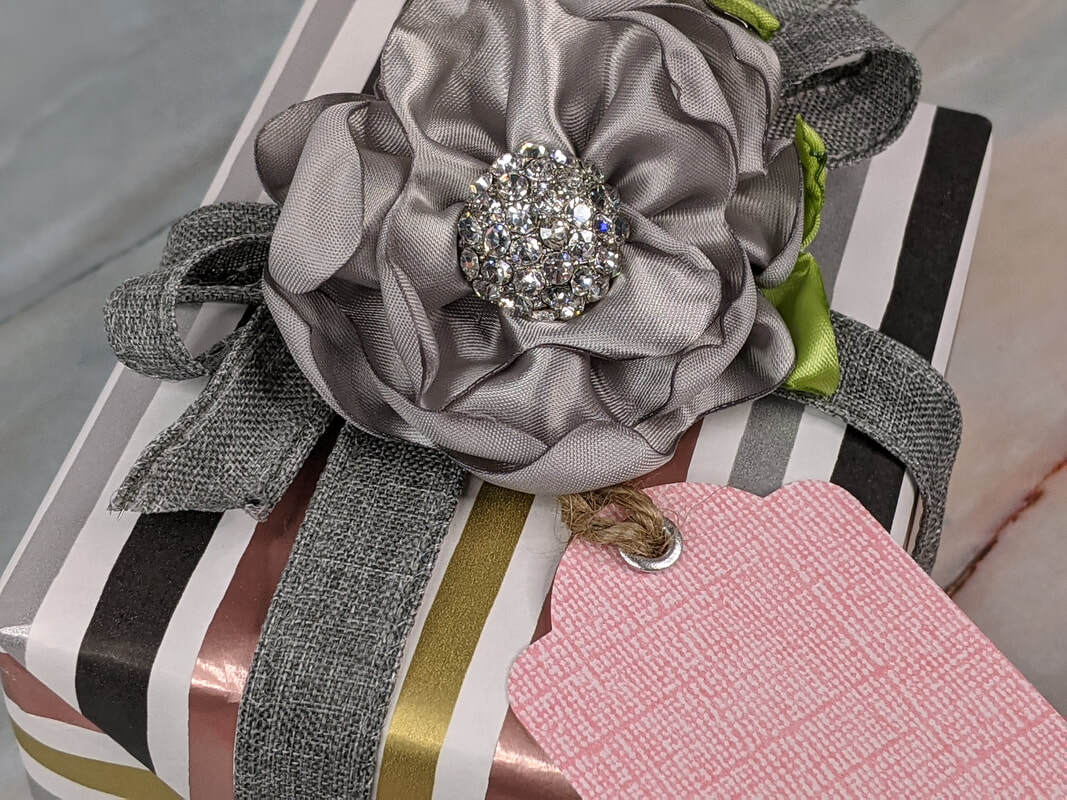
    #2  Deck it out!...EMBELLISH AWAY!!!
    Make the present look amazing from the outside!  It gives a great first impression and the extra thoughtfulness goes a long way!  She or he will feel that you value her/him just by the appearance of the package!  Use flowers, ribbons, fancy gift tags, a pop of color, something shiny...just anything that offers that WOW factor!  Wouldn't you love to be on the receiving end of a gift that says, "You matter to me!" by how it looks?  I just love it when I give a gift that is "too pretty to unwrap" because I made it extra special for someone extra special to me!  In general, I prefer to use a wrapped gift box.  If I need to use a gift bag, I will will make it super fancy...whether it's through the use of a gorgeous hanging tag, or adding sparkle and ribbon to the bag.

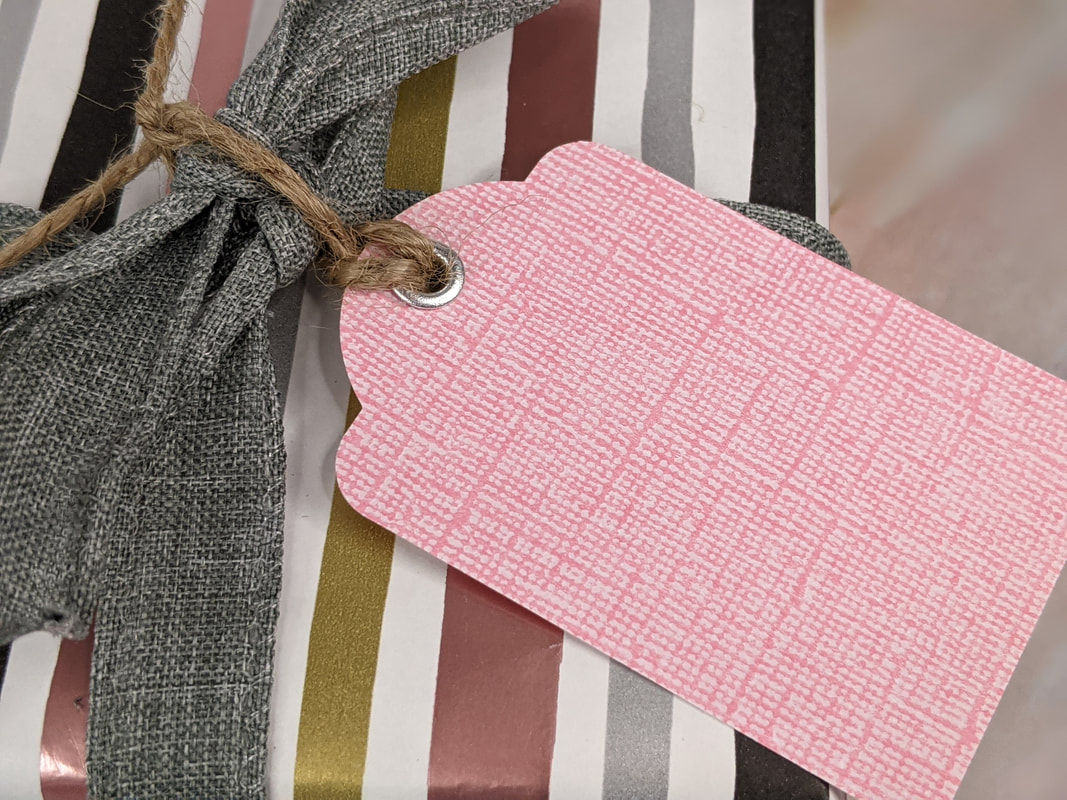
    #3 The card matters!...SAY SOMETHING WONDERFUL!
    You can find nice greeting cards with long verses, but the best part of the card is the personal message you write in there!  Don't just sign your name.  Say something amazing!  For this reason, I create gorgeous handmade cards that are blank inside.  That's how much I think the personal message matters, which you get to write from the heart!  Go ahead and use a fancy gift tag if you don't have a card, or if a card is too large for a small gift.  Tags can be beautiful, too!  Just say something special on it, besides the To/From!

    #4 Give the gift in person!...BE PART OF THE CONNECTION!
    I realize you cannot always give a gift in person.  Schedules and distances do make a difference.  But whenever you can, avoid a gift drop-off and instead wait until you can hand the gift to the recipient!  This is an extra dose of thoughtfulness that connects you to the present.  It makes it more memorable for both of you, and you get to see the reaction she/he has to the amazingly wrapped gift!  Now it can be more likely for the person to remember you with each use of the gift, because they had that connecting moment with you!  GIVE PRESENTS WITH PRESENCE!!!!

    #5 Be spontaneous!...GIVE GIFTS JUST BECAUSE!
    It is great to remember birthdays, anniversaries, and other holidays!  Yes, do that!  However, sometimes the best gifts are the ones you give just because you want to!  Do you really need a reason to be kind?  Let someone know they are important to you all the time, not just when you should think of them for their birthday!  Maybe today is a day when they just need to feel loved!  I like to keep a "Just Because" gift bin that I stock with special little thoughtful gifts I find on sale.  I may have someone specific in mind when I purchase each item.  Then I have a go-to stash whenever I feel the urge to give a gift to someone "out of the blue" because they are on my mind.  You could use a box, bin, closet, or room for this purpose!  Just make sure it is in your budget to keep your gift stash stocked regularly.  If you cannot afford it, don't do it this way.  In that case, a card made out of paper with a thoughtful note will work just fine to let someone know you care!  Just do what you can, as you can!

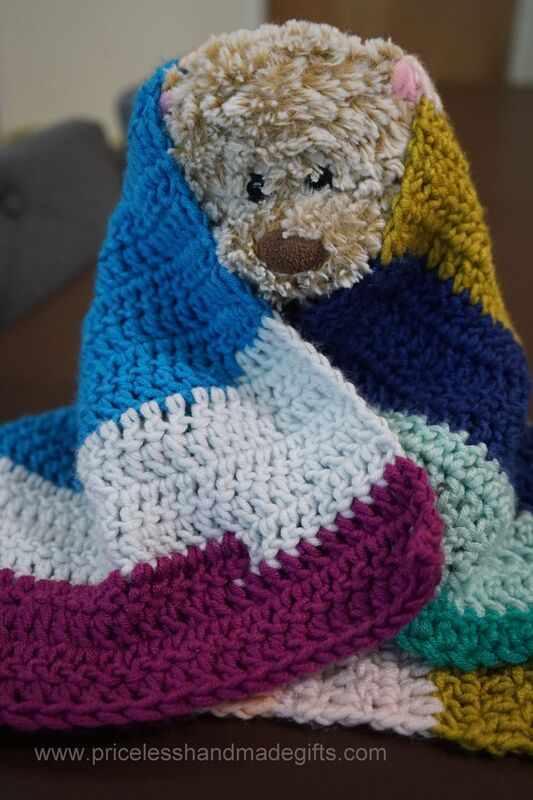
    I love giving presents with a personal touch, and for me it is often handmade.  I believe it adds value to the gift and to the relationship when it is personal like that.  If someone is important to you, they should know that.  This is the Priceless way!

    ​Handmade Hugs,
    Alice